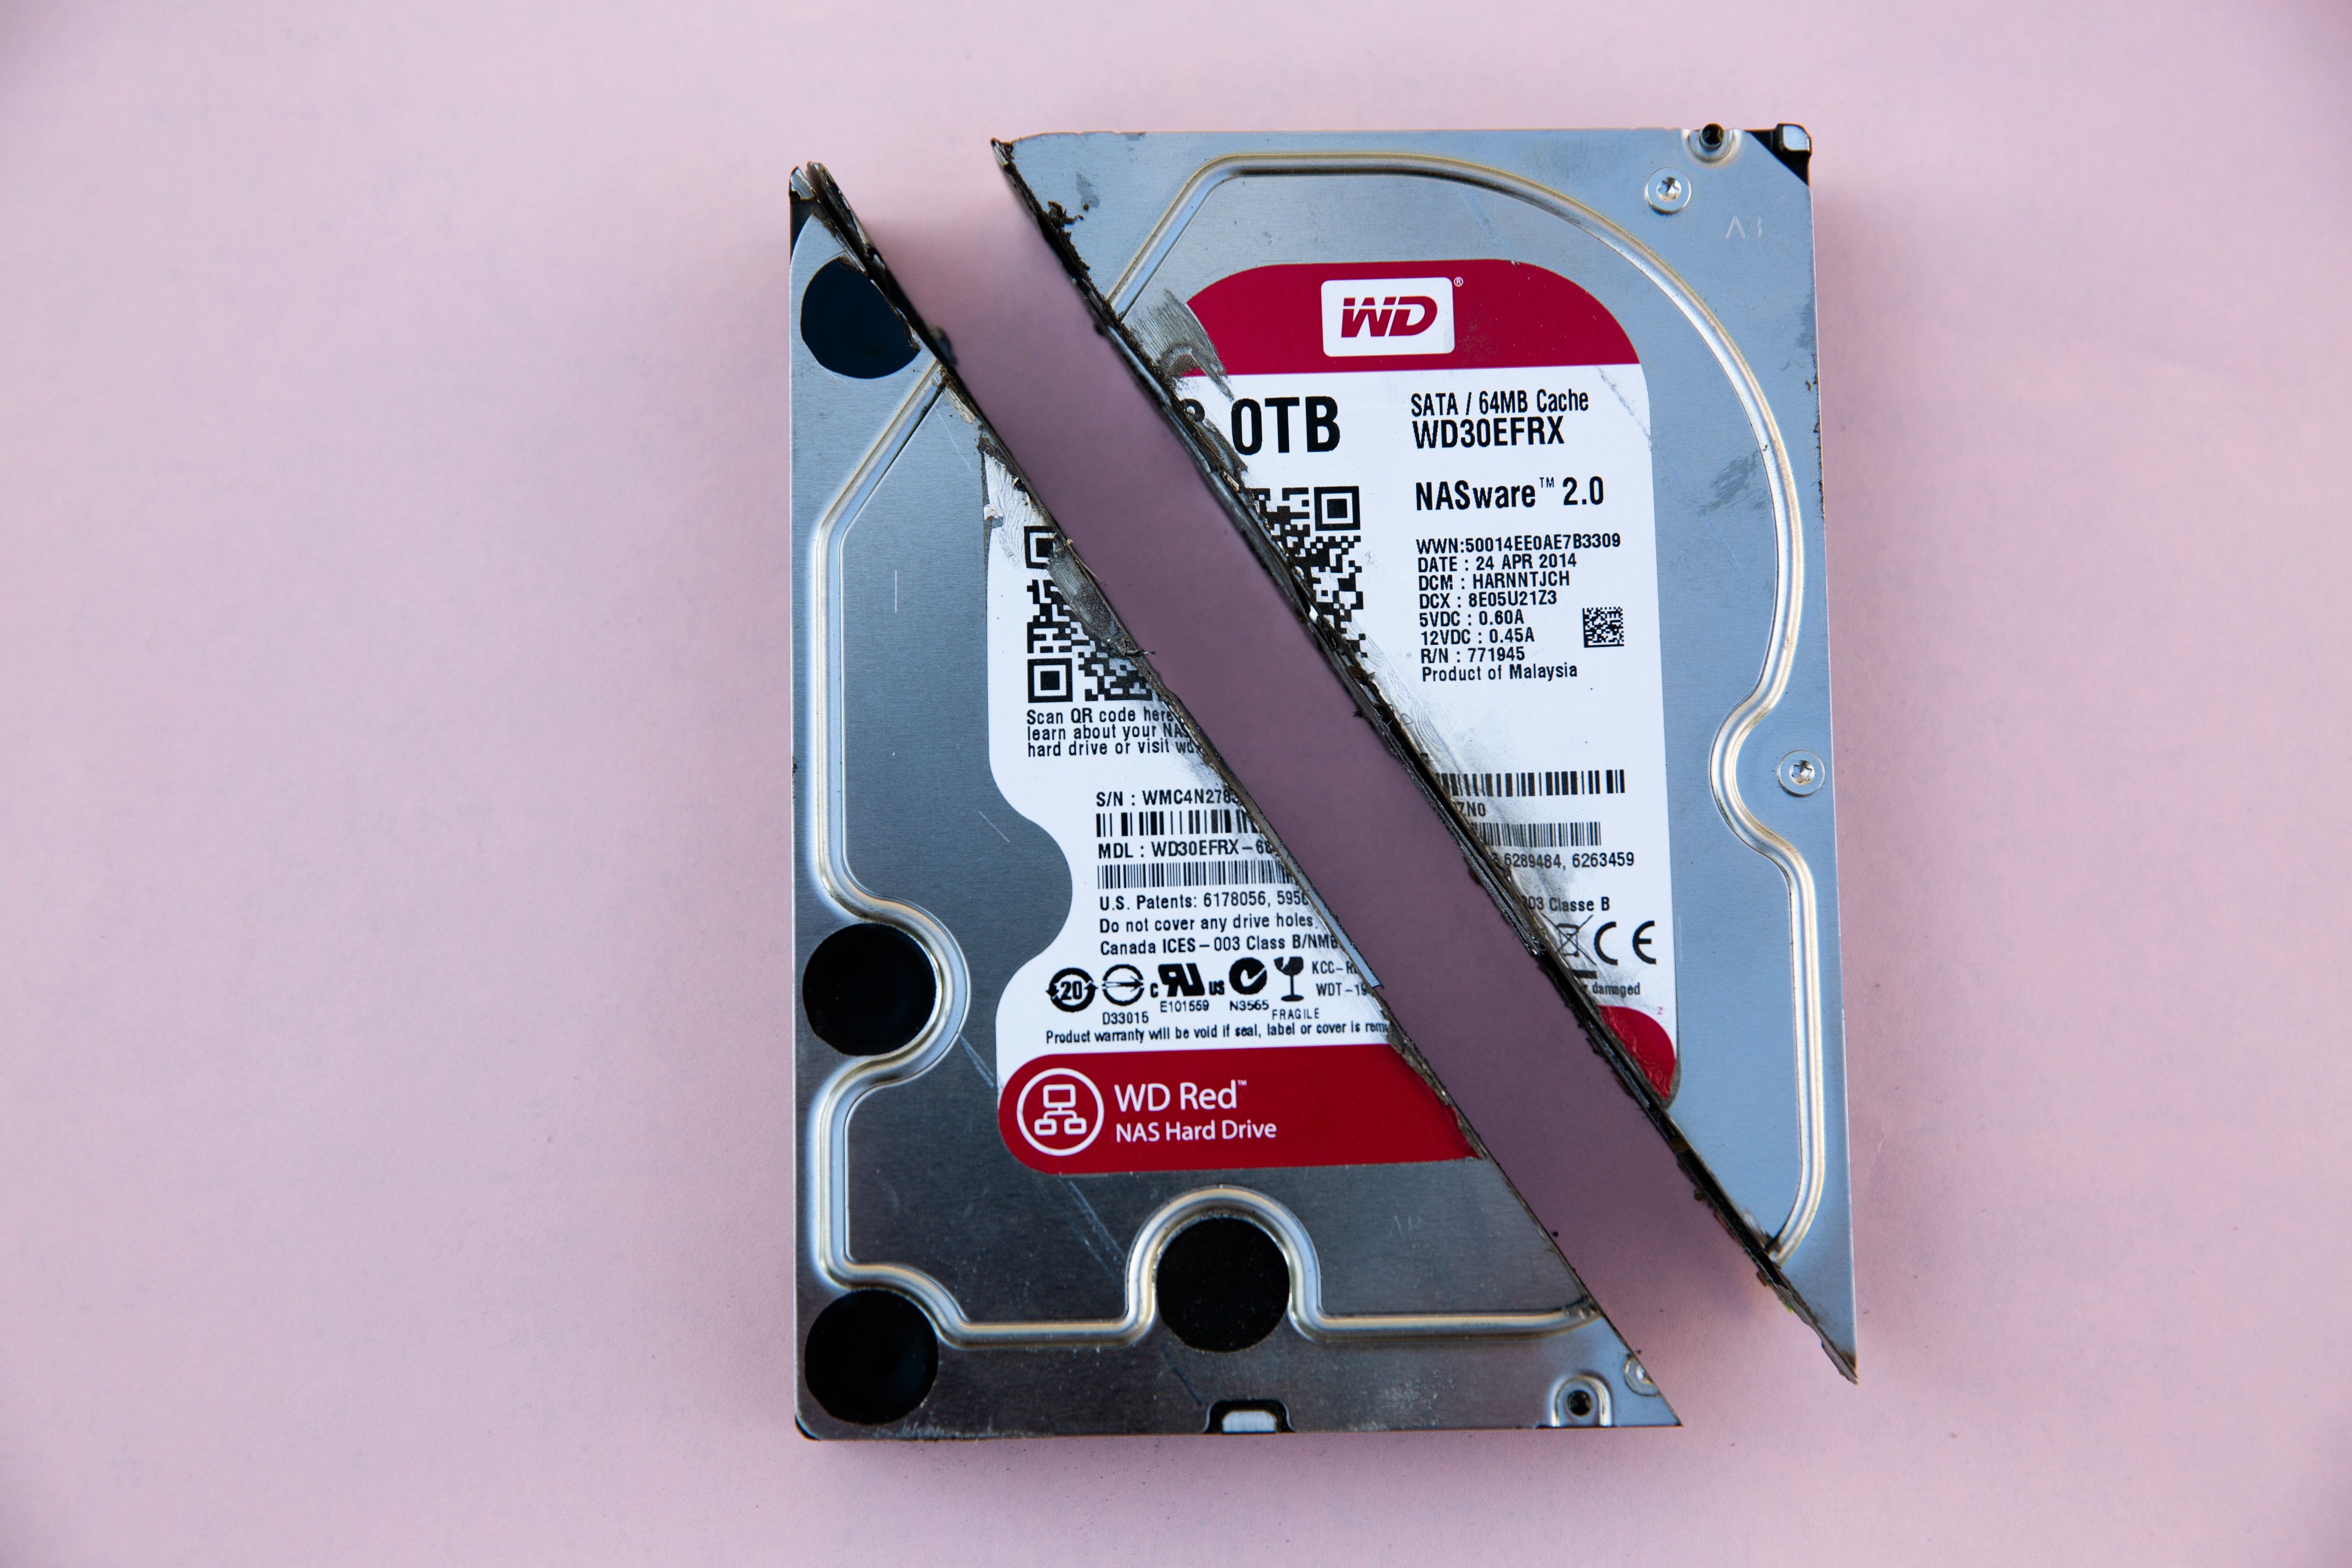
How to solve QNAP disk initialization problems
The backstory
Linux and I respect eachother as worthy foes… We have that love/hate realationship that just seems to work. Every now and then I need linux. I simply do… And on those moments we both throw down for a spectacular fight and see who comes out on top.
This weekend was no different. As a thank you gift for some services rendered I received a QNAP TS-219P+ that I had big plans for. I have 2 external drives, one for media and one for incremental backups so sticking them into the NAS would surely ease my daily routines.
Dismanteling the drives wasn’t all that challenging and before no time the first disk was installed in the NAS. I decided to start with just one disk (the media one), because it didn’t hold any important data anyway and I was unsure if the NAS needed to format the drives in order to use them.
I ran the first use utility and the set-up was pretty straight forward. Since I don’t really like JBOD I opted to let the NAS skip RAID and just view each tray as a single disk. In retrospect this was a bad move :(
The problem
Once I had the NAS set up and was done moving all my data to the NAS I dismanteled the remaining drive and popped it in the NAS. I tried hot plugging it to see if the NAS would go for it and surely it did. Well… sort of…
Whatever I tried, the NAS would refuse to initialize the drive! It would just keep telling me:
[Singe Disk Volume: Drive 2] Formatting failed.
[Singe Disk Volume: Drive 2] Formatting failed(Cannot unmount disk).
None of QNAP’s own documentation seemed to work as well as standard LINUX stuff. I later learned that QNAP operates on a slightly modded version of BUSYBOX
The fix
The fix was relatively simple, but I had to use steps from various other fixes (maily from people having problems with JBOD).
- Connect to the NAS with SSH (NOTE: you can only SSH into the NAS with the admin account - admin / password)
- Stop all the running services with the following command
/etc/init.d/services.sh stop - Format the drive with ONE, and ONLY ONE partition using fdisk. You should be presented with the error 16 when you reach the final step and attempt to write the changes
- POWER DOWN the NAS. Do not reboot instead. I you reboot the disk will remain unitialized.
- After powering back up, log into the web interface and navigate to storage manager. The second disk should now say that it is not yet mounted. DO NOT attempt to mount the disk from SSH as this will just show errors and will force you to power down again.
- FORMAT the drive from the webinterface. It will automatically mount everything as it sees fit and you should end up with a mounted usable second drive.
I hope this will help some of you that are facing the same annoying issue I was facing. you’ve been a worthy foe linux. I will see you again soon for our next battle.