Restoring a BTC 5300C keyboard
I like keyboards. Like... a lot. So whenever I come across a damaged vintage keyboard I check out if it is:
A. Salvageable
and
B. Interesting enough for me to work on
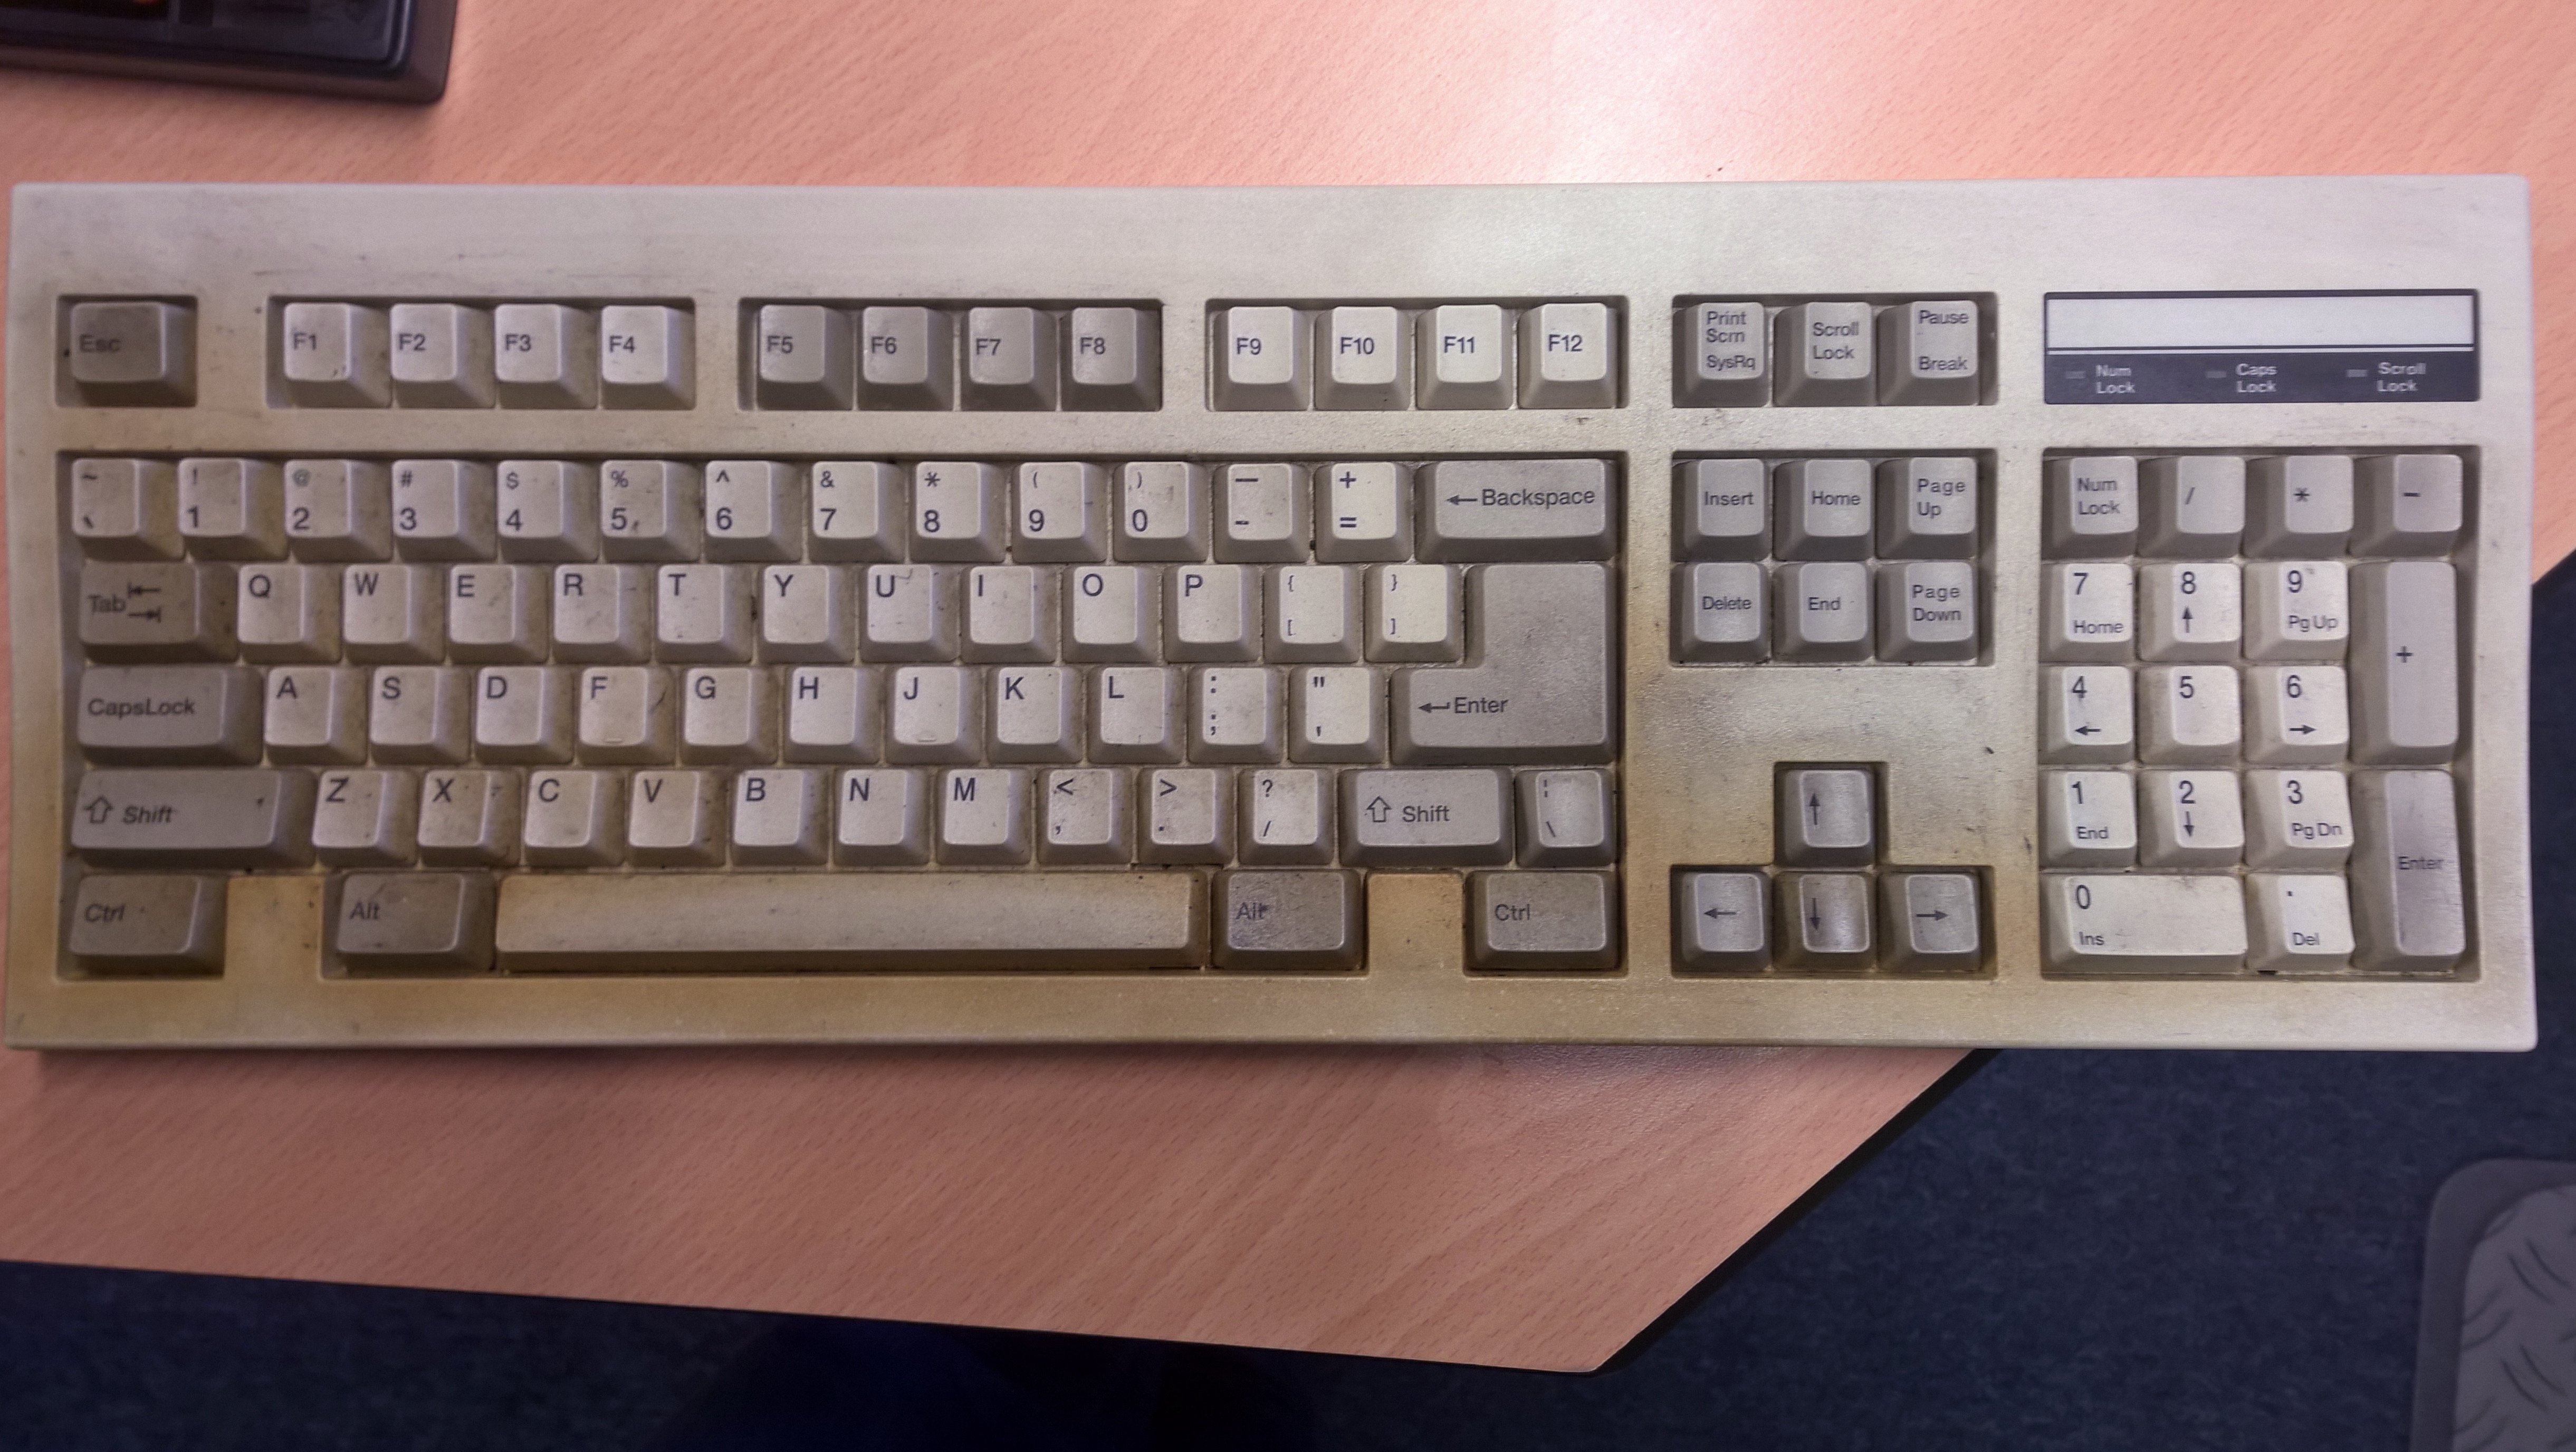
So when I happened to come across a heavily abused BTC 5300C I quickly did my routine checks and determined that the keyboard fits my two criteria and began working on restoring it.
When I discovered the keyboard at an old storage facility it was covered in oil! 😱 It reeked too (yuck 🤢). However, it didn't look like it was damaged beyond the point of being salvageable and after a quick lookup I discovered the keyboard uses cherry stems, so if the restoration didn't work out I could always just harvest the keycaps. Neat :D
Key Mechanism and feeling
ℹ️ There are those who claim that BTC dome with slider keyboards provide a typing experience very close to TOPRE keyboards. Having never typed on a TOPRE keyboard I am unable to verify this claim. If you are not able to shell out for a TOPRE keyboard, a BTC keyboard may be worth looking into as a cheaper alternative.
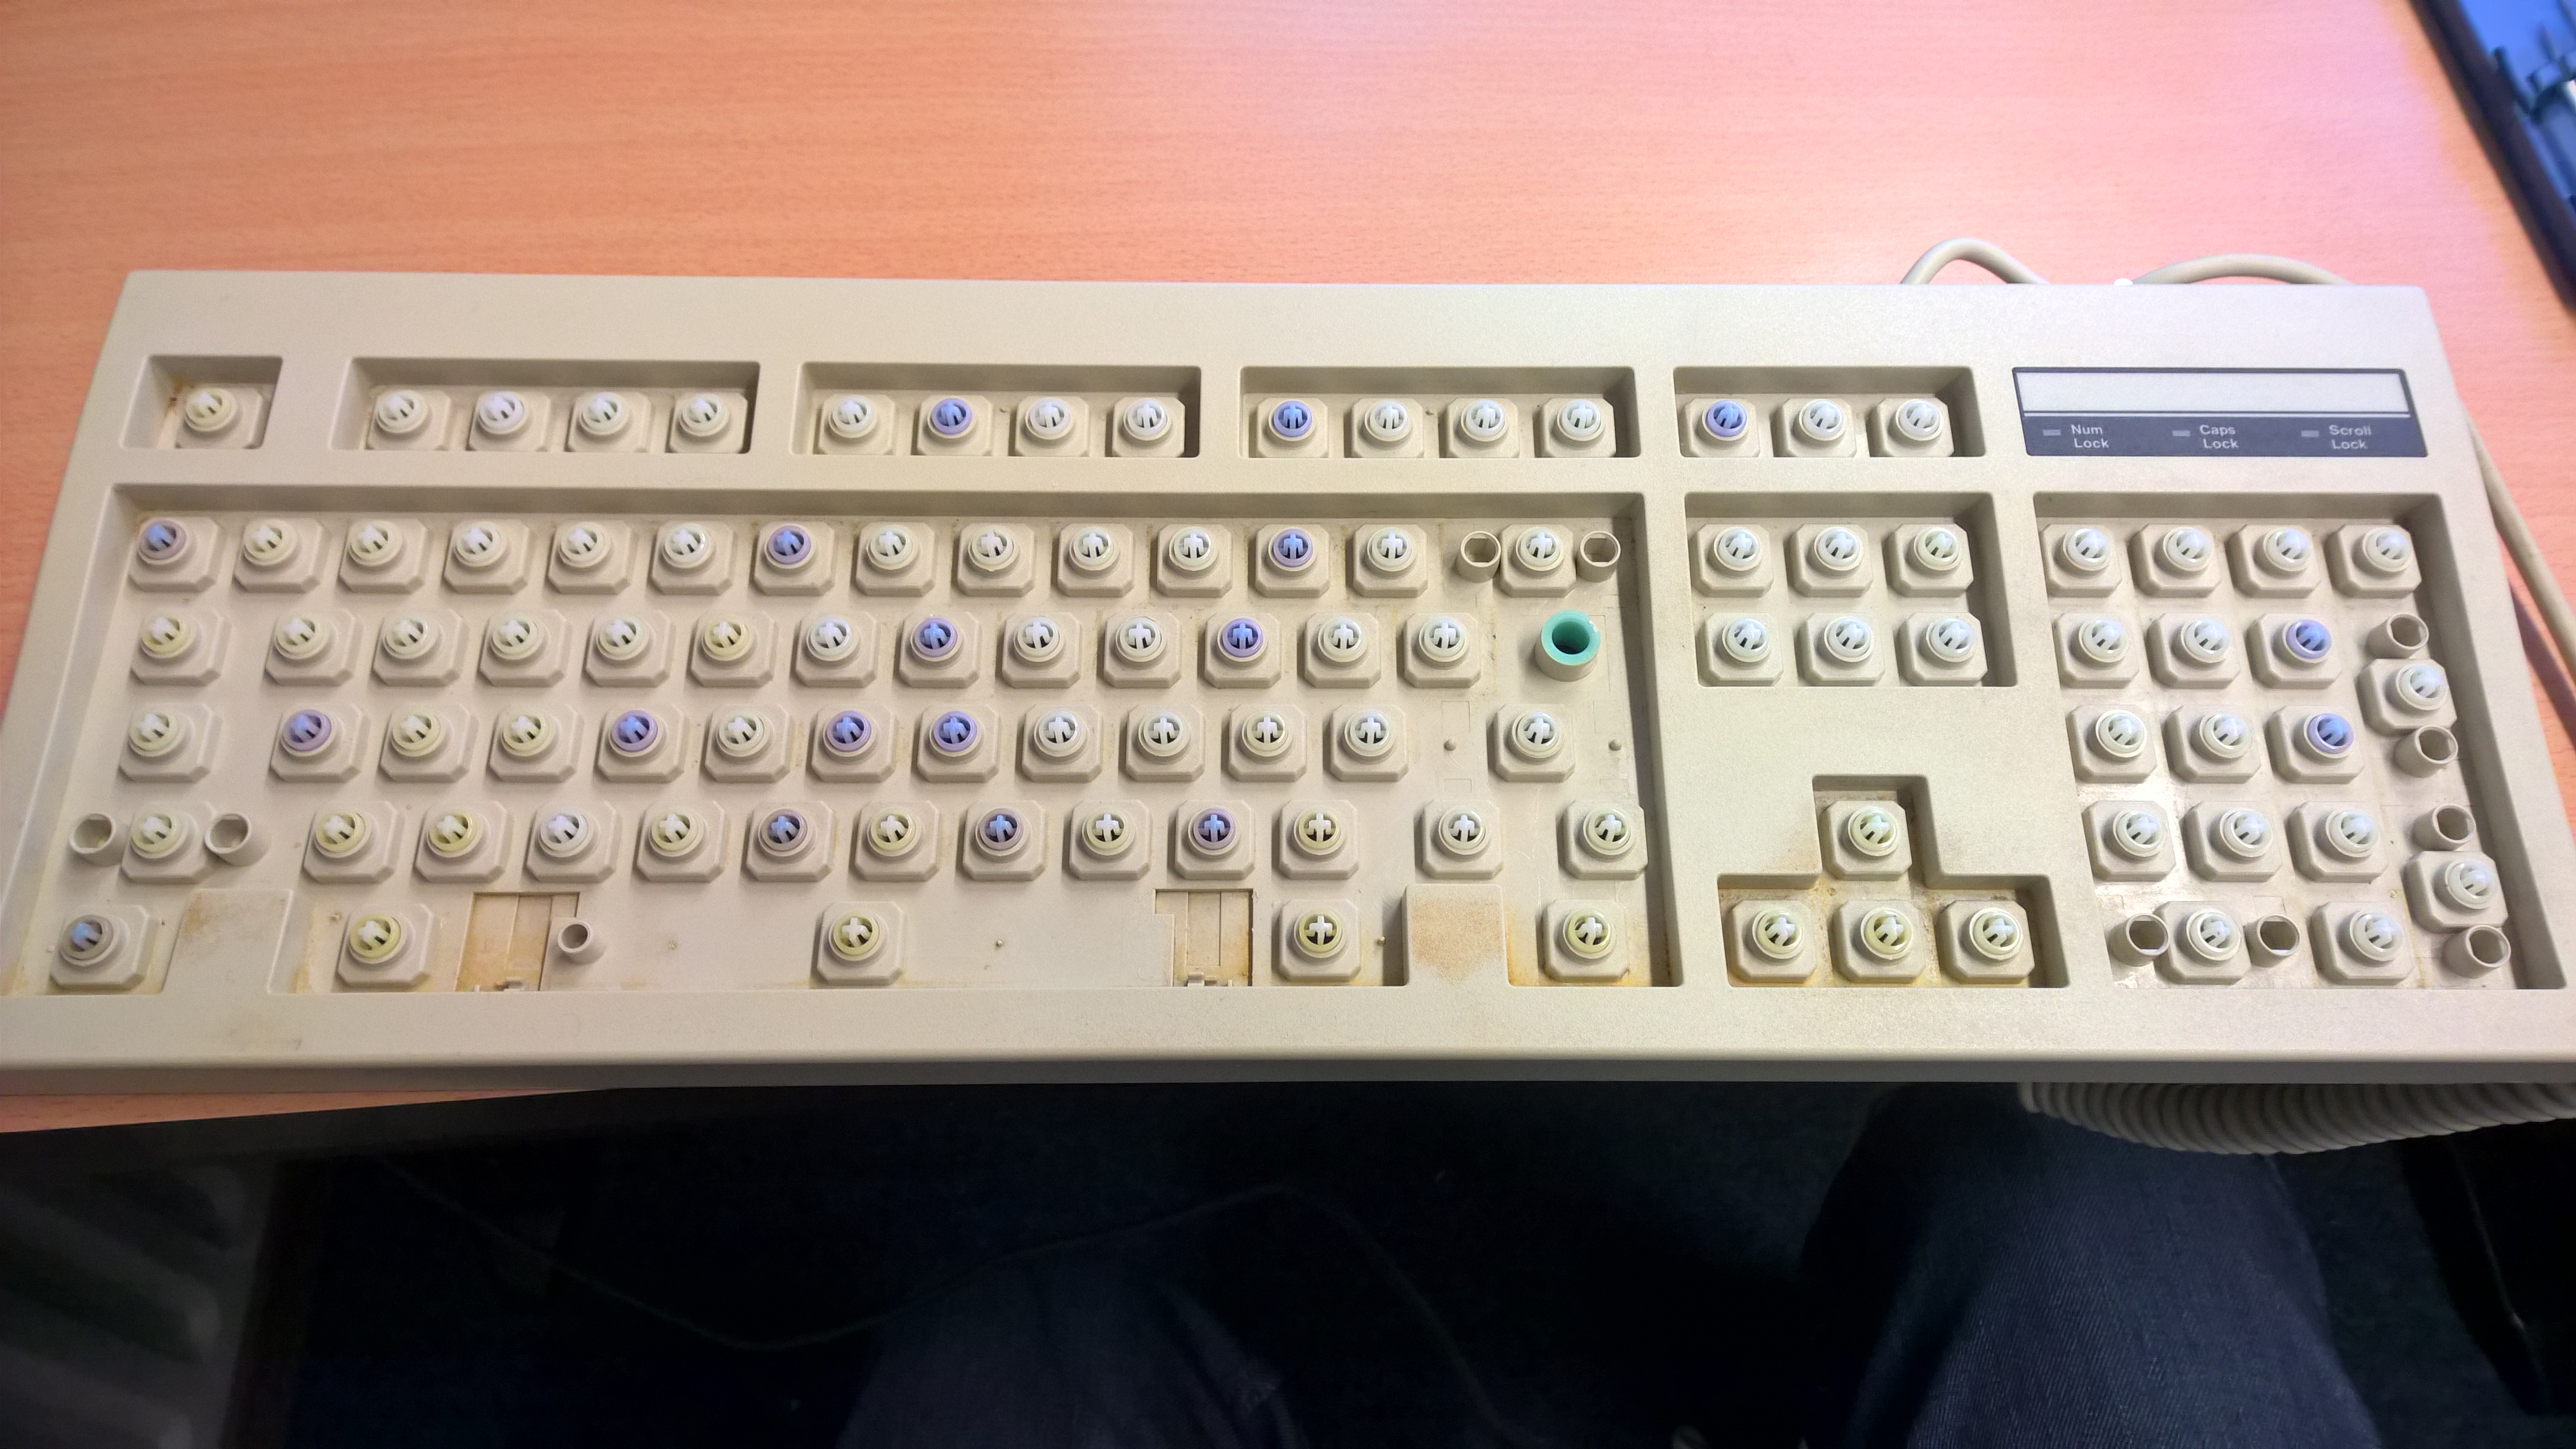
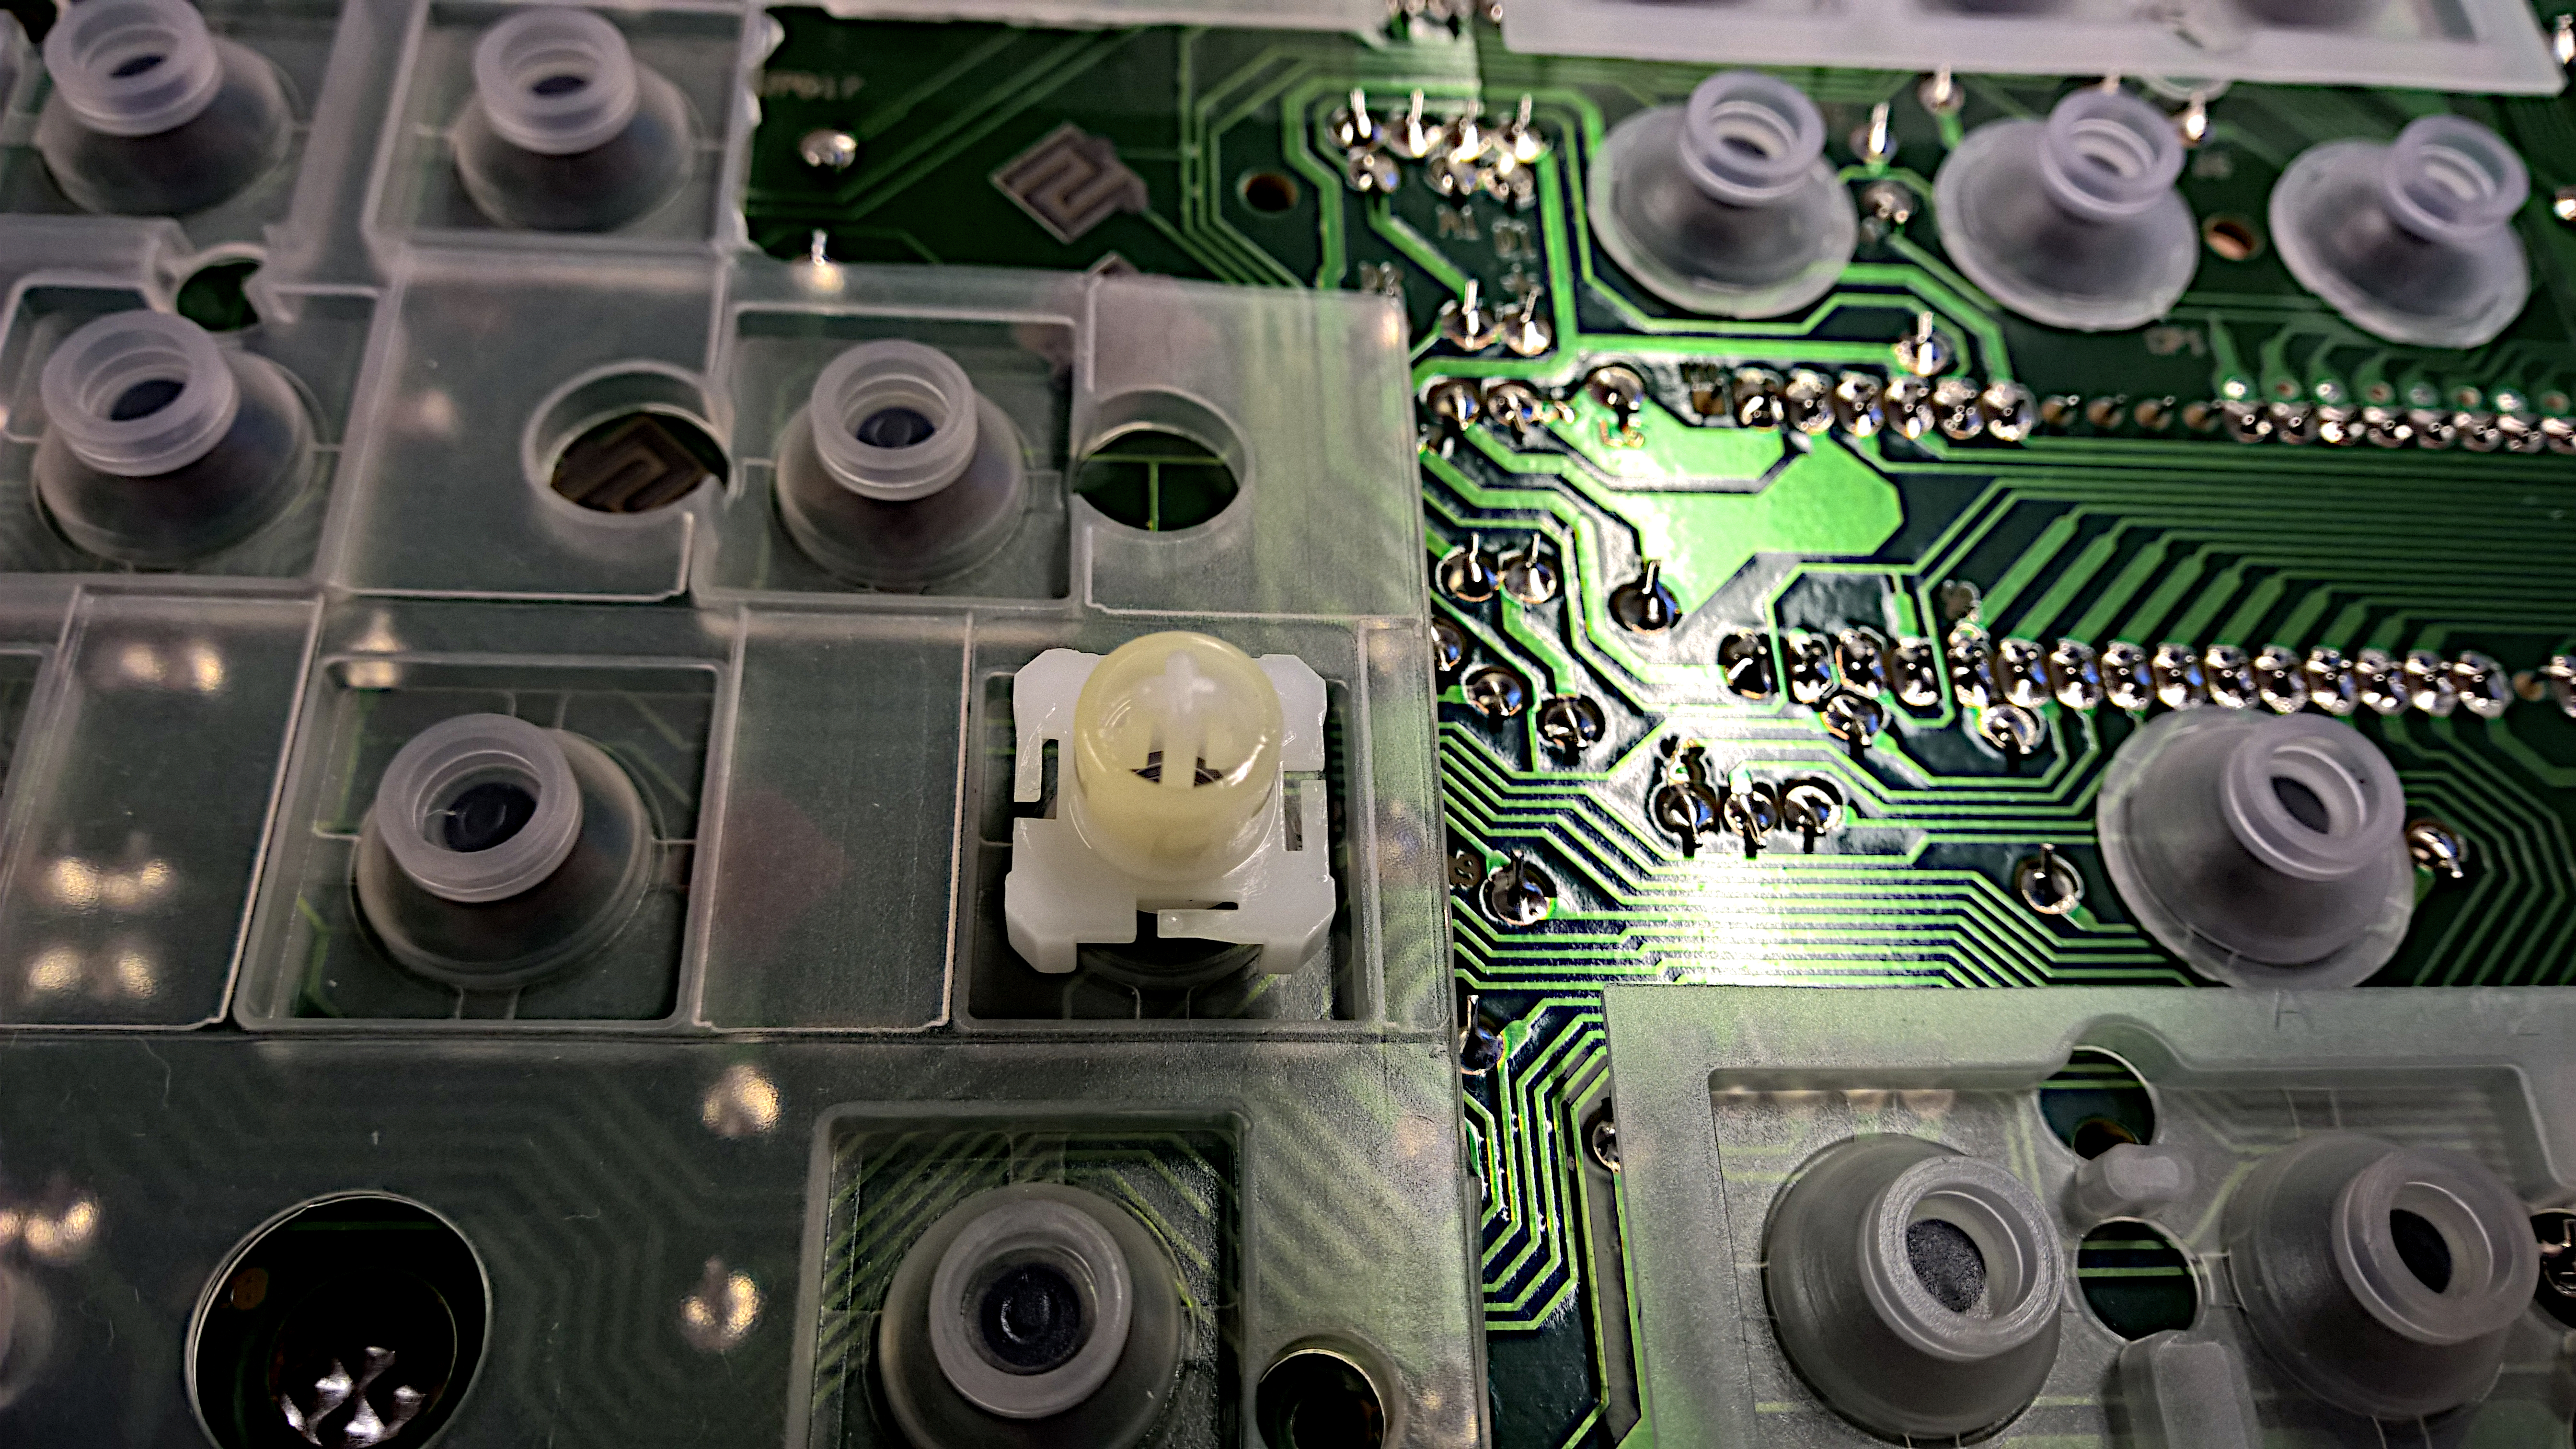
The BTC 5300C uses a dome with slider mechanism that provides an interesting typing feel. The mechanism itself looks like there is a miniature table lodged over a nipple. Each dome is a separate conductor, so it's not built like the standard rubber dome sheets you see these days.
When I did my initial typing tests I was wearing gloves because the keyboard was still covered in oil. The feeling was... interesting. It felt like typing on a heavier hybrid switch which is why I was initially fooled into thinking the keyboard was mechanical. Well, that and the Cherry MX stems...
After refurbishing the keyboard I did another typing test and recorded an accompanying video. The typing experience feels quite rigid. The keyboard feels a bit too heavy for my tastes but it I wouldn't call it bad either.
I wouldn't recommend trashing the board and just harvesting the keys as many redditors over on the mechanical keyboard Reddit suggest. This keyboard is certainly a step up from a standard rubber sheet keyboard.
The restoration process
Disassembly
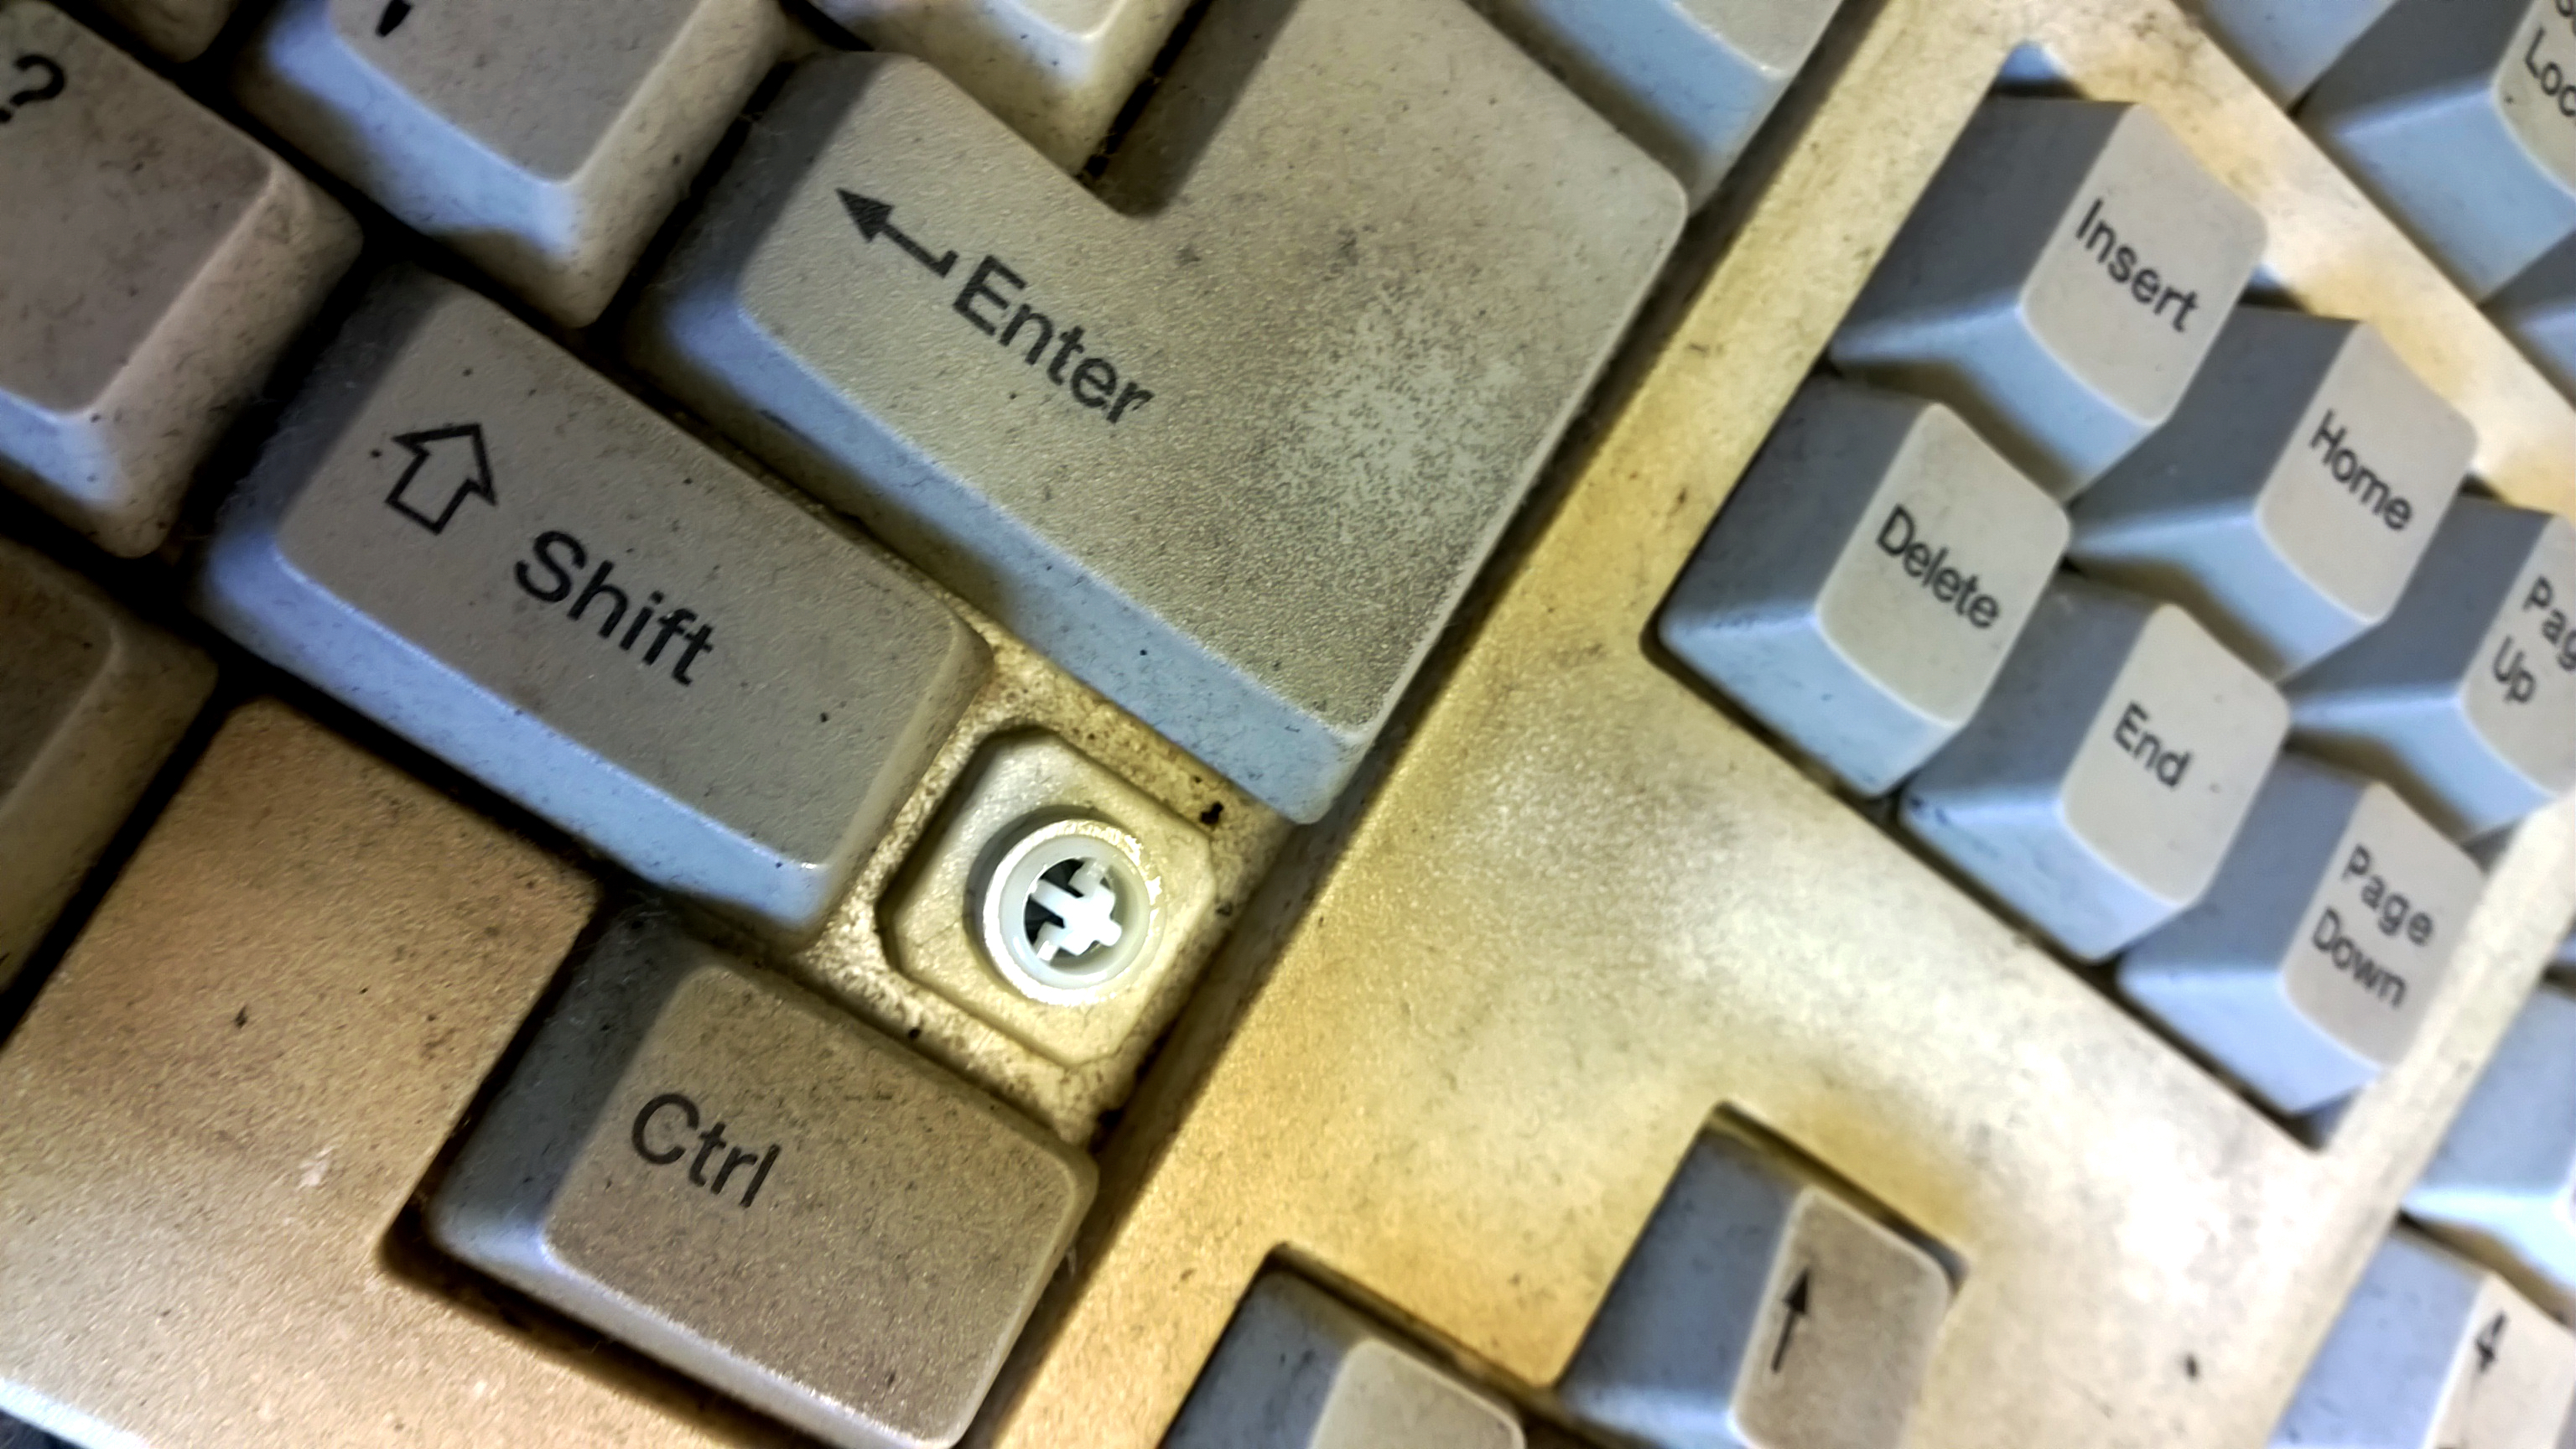
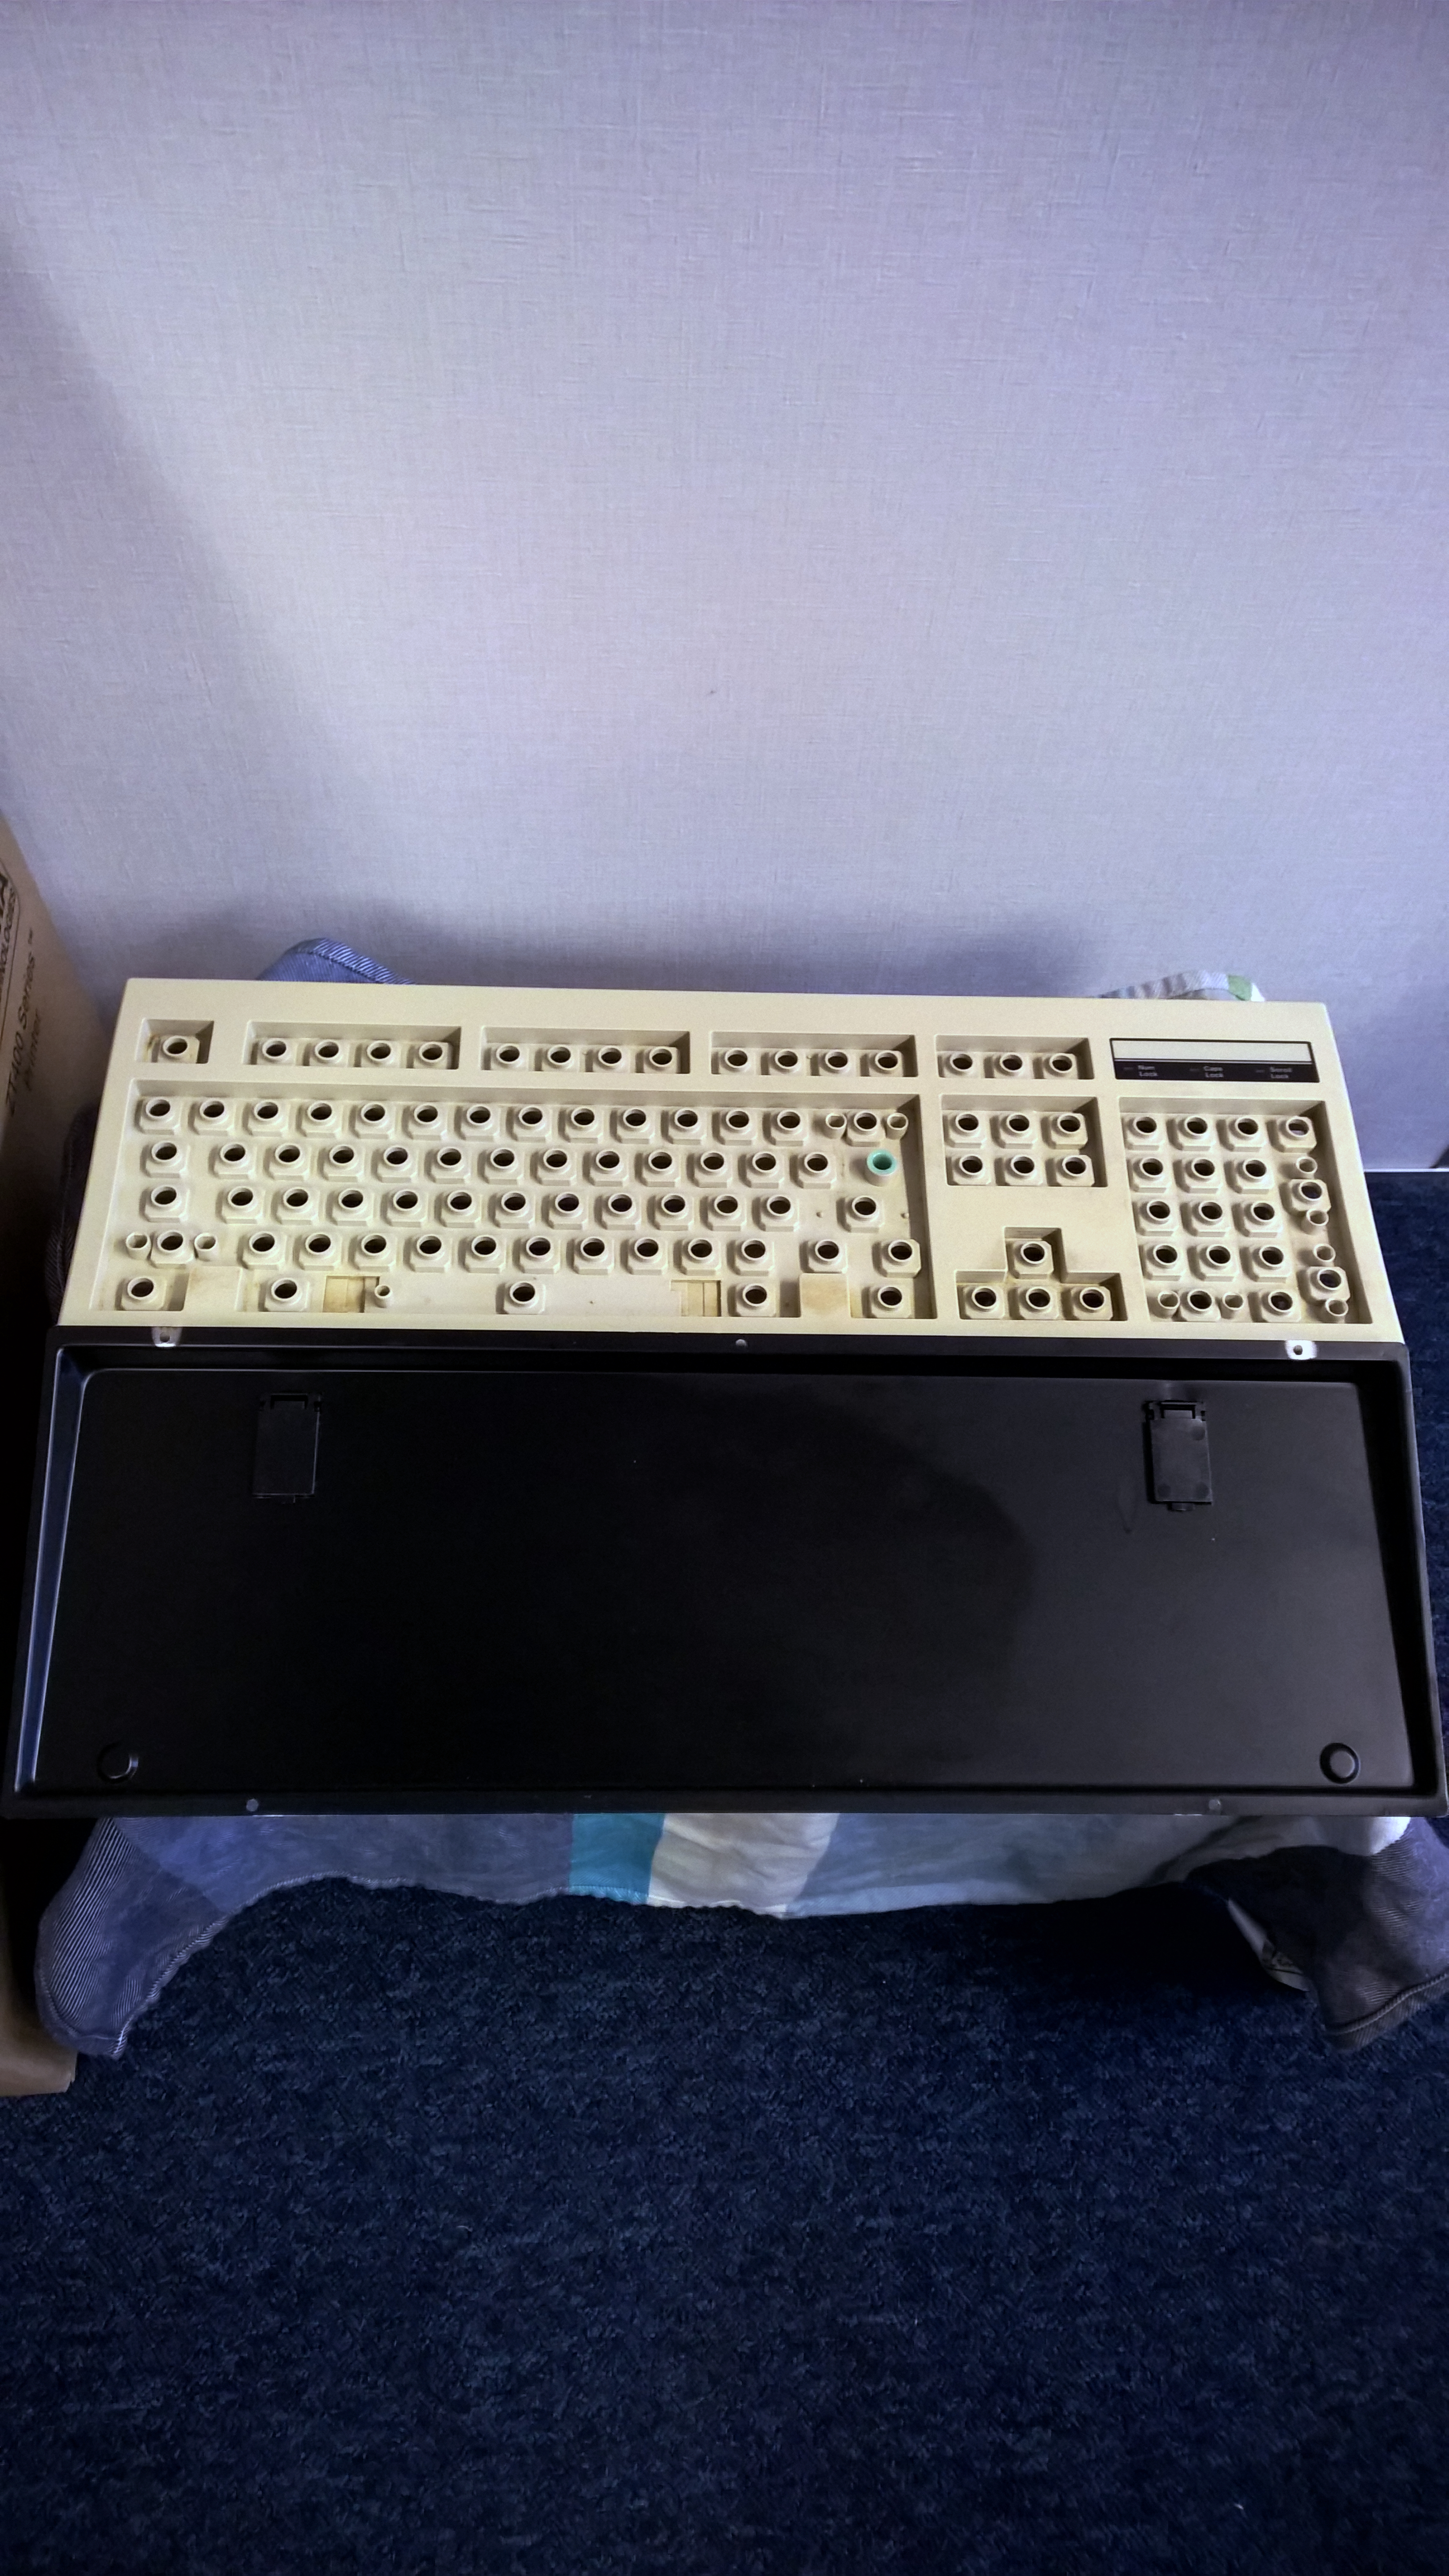
Every restoration process is roughly the same: gently disassemble to board, keep track of all the parts and give it a good scrub 🧼 Sounds easy enough, right? Well, for most modern keyboards this would no longer be the case, but that's why I love vintage tech; not only are all the screws much bigger than those we see nowadays, but there is also a clear absence of proprietary components. Everything is just sorta... out there in the open.
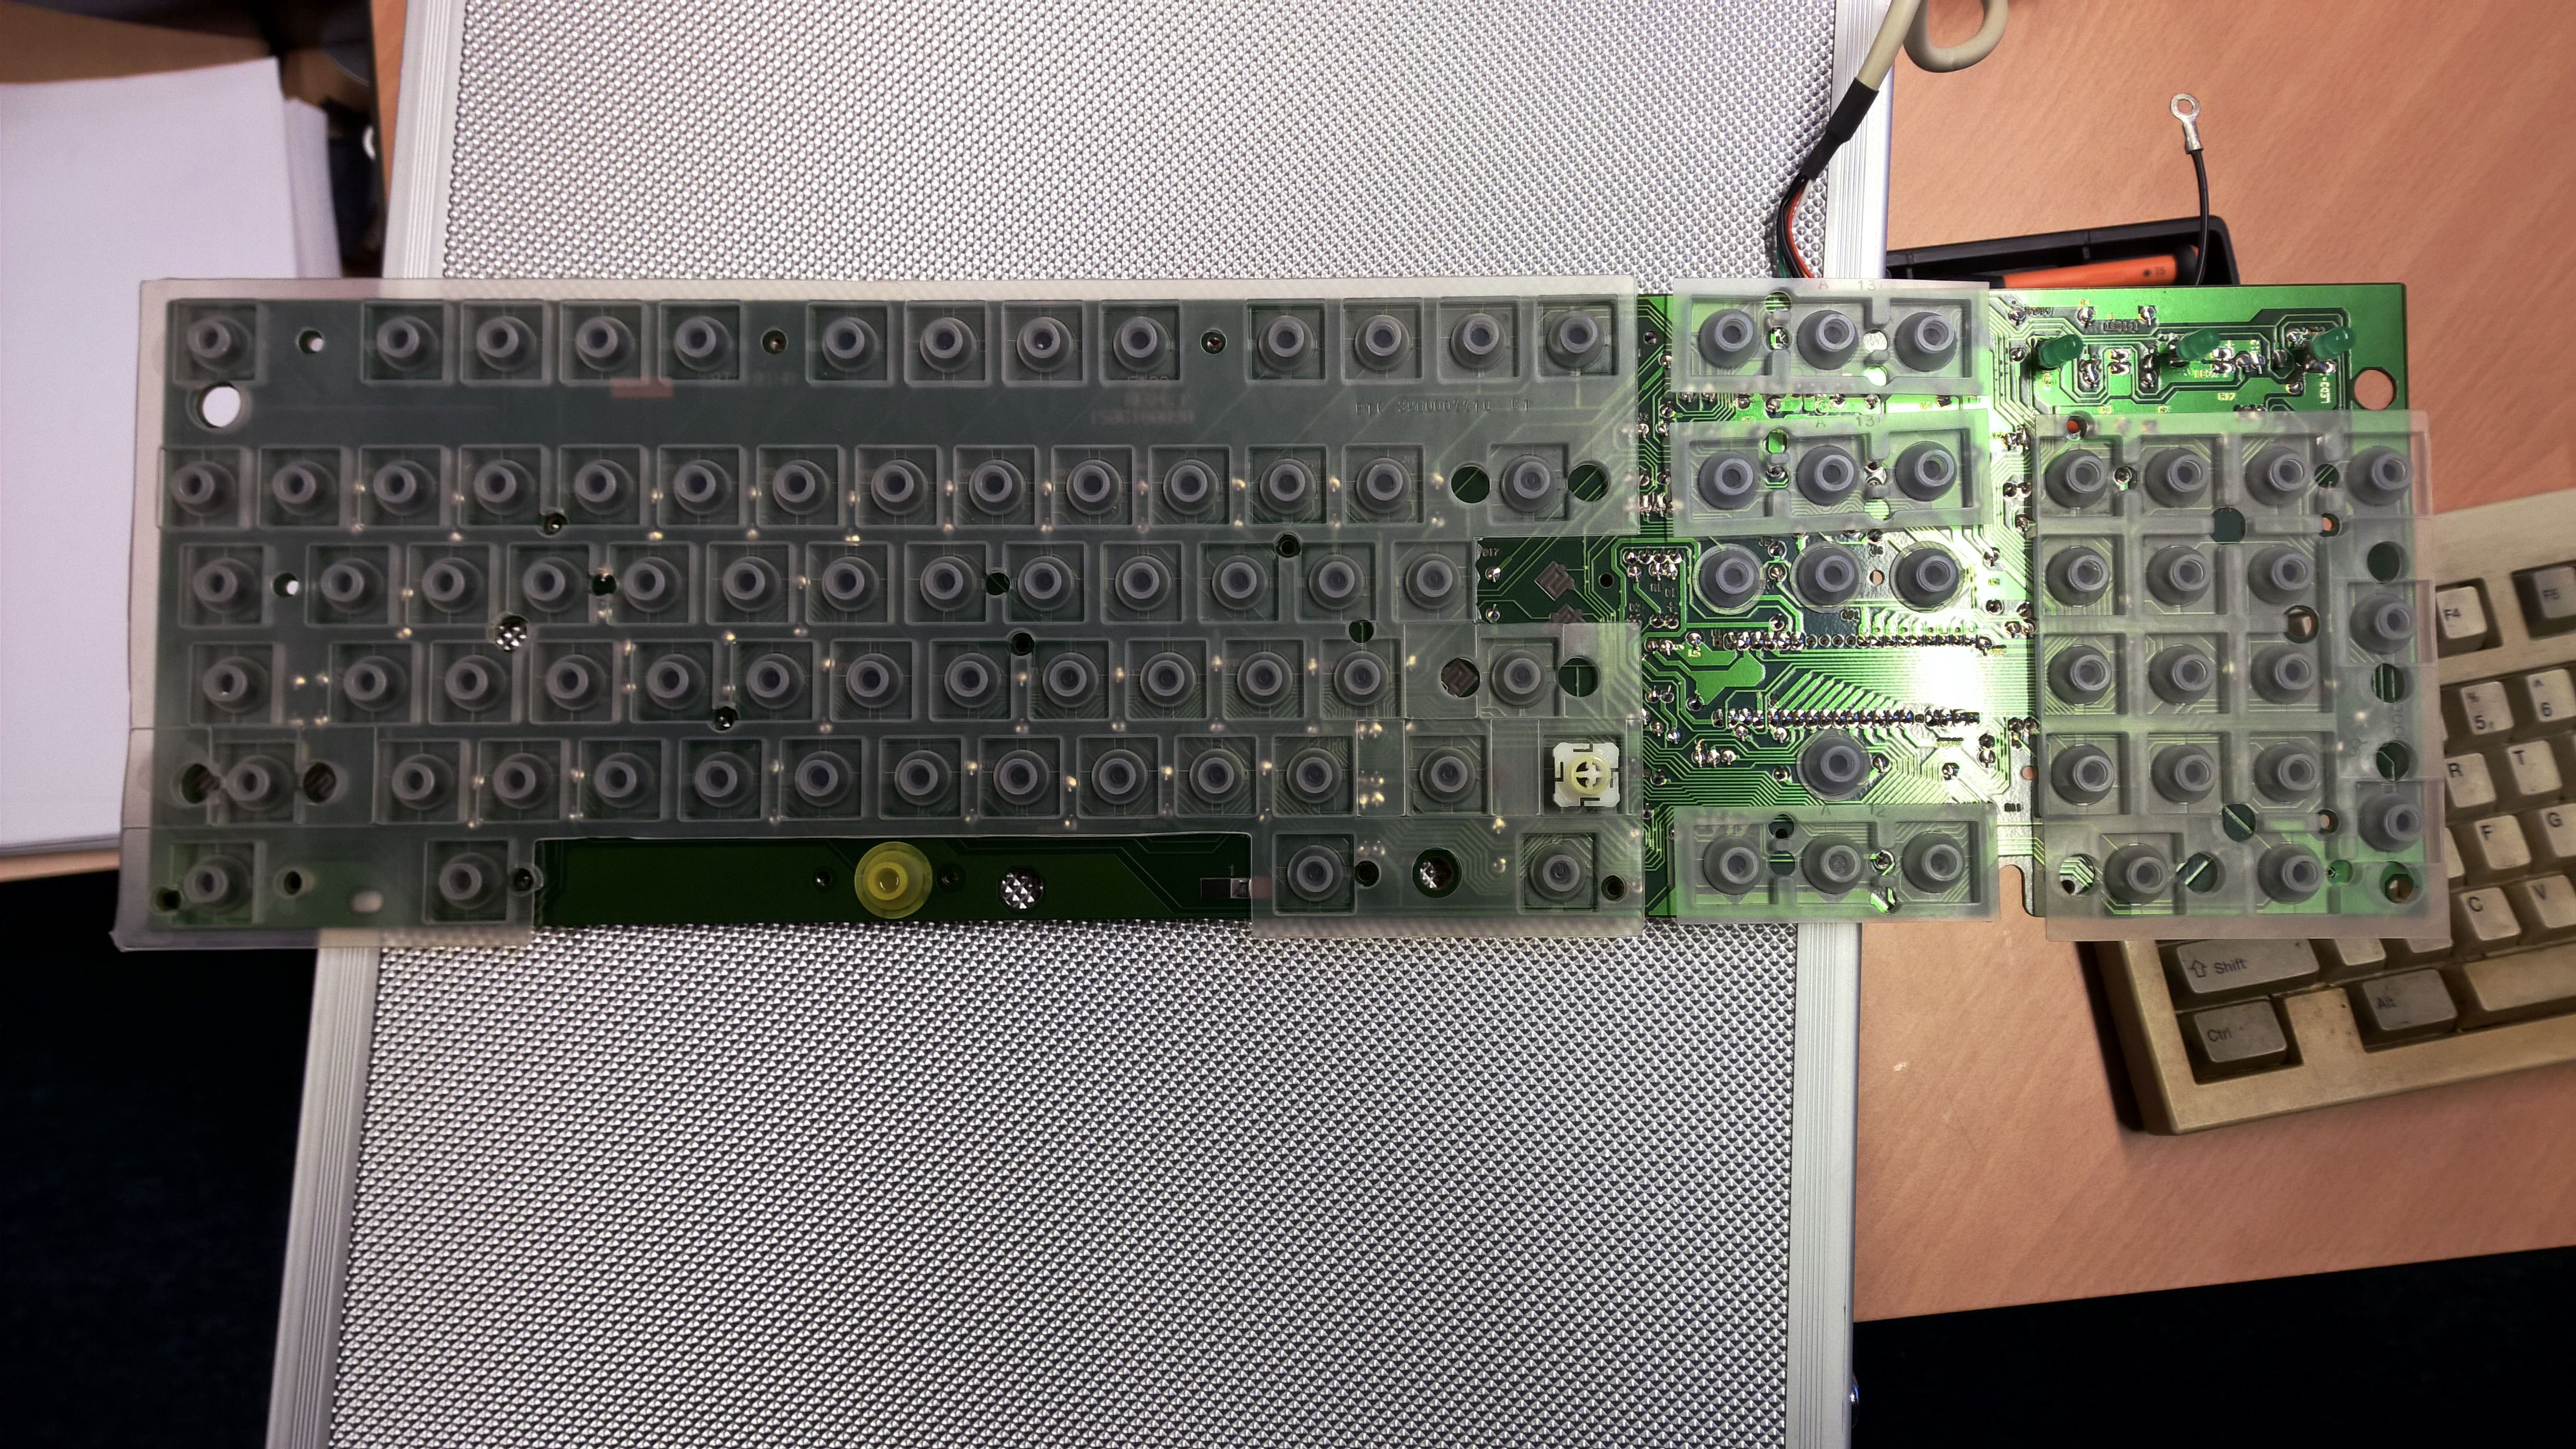
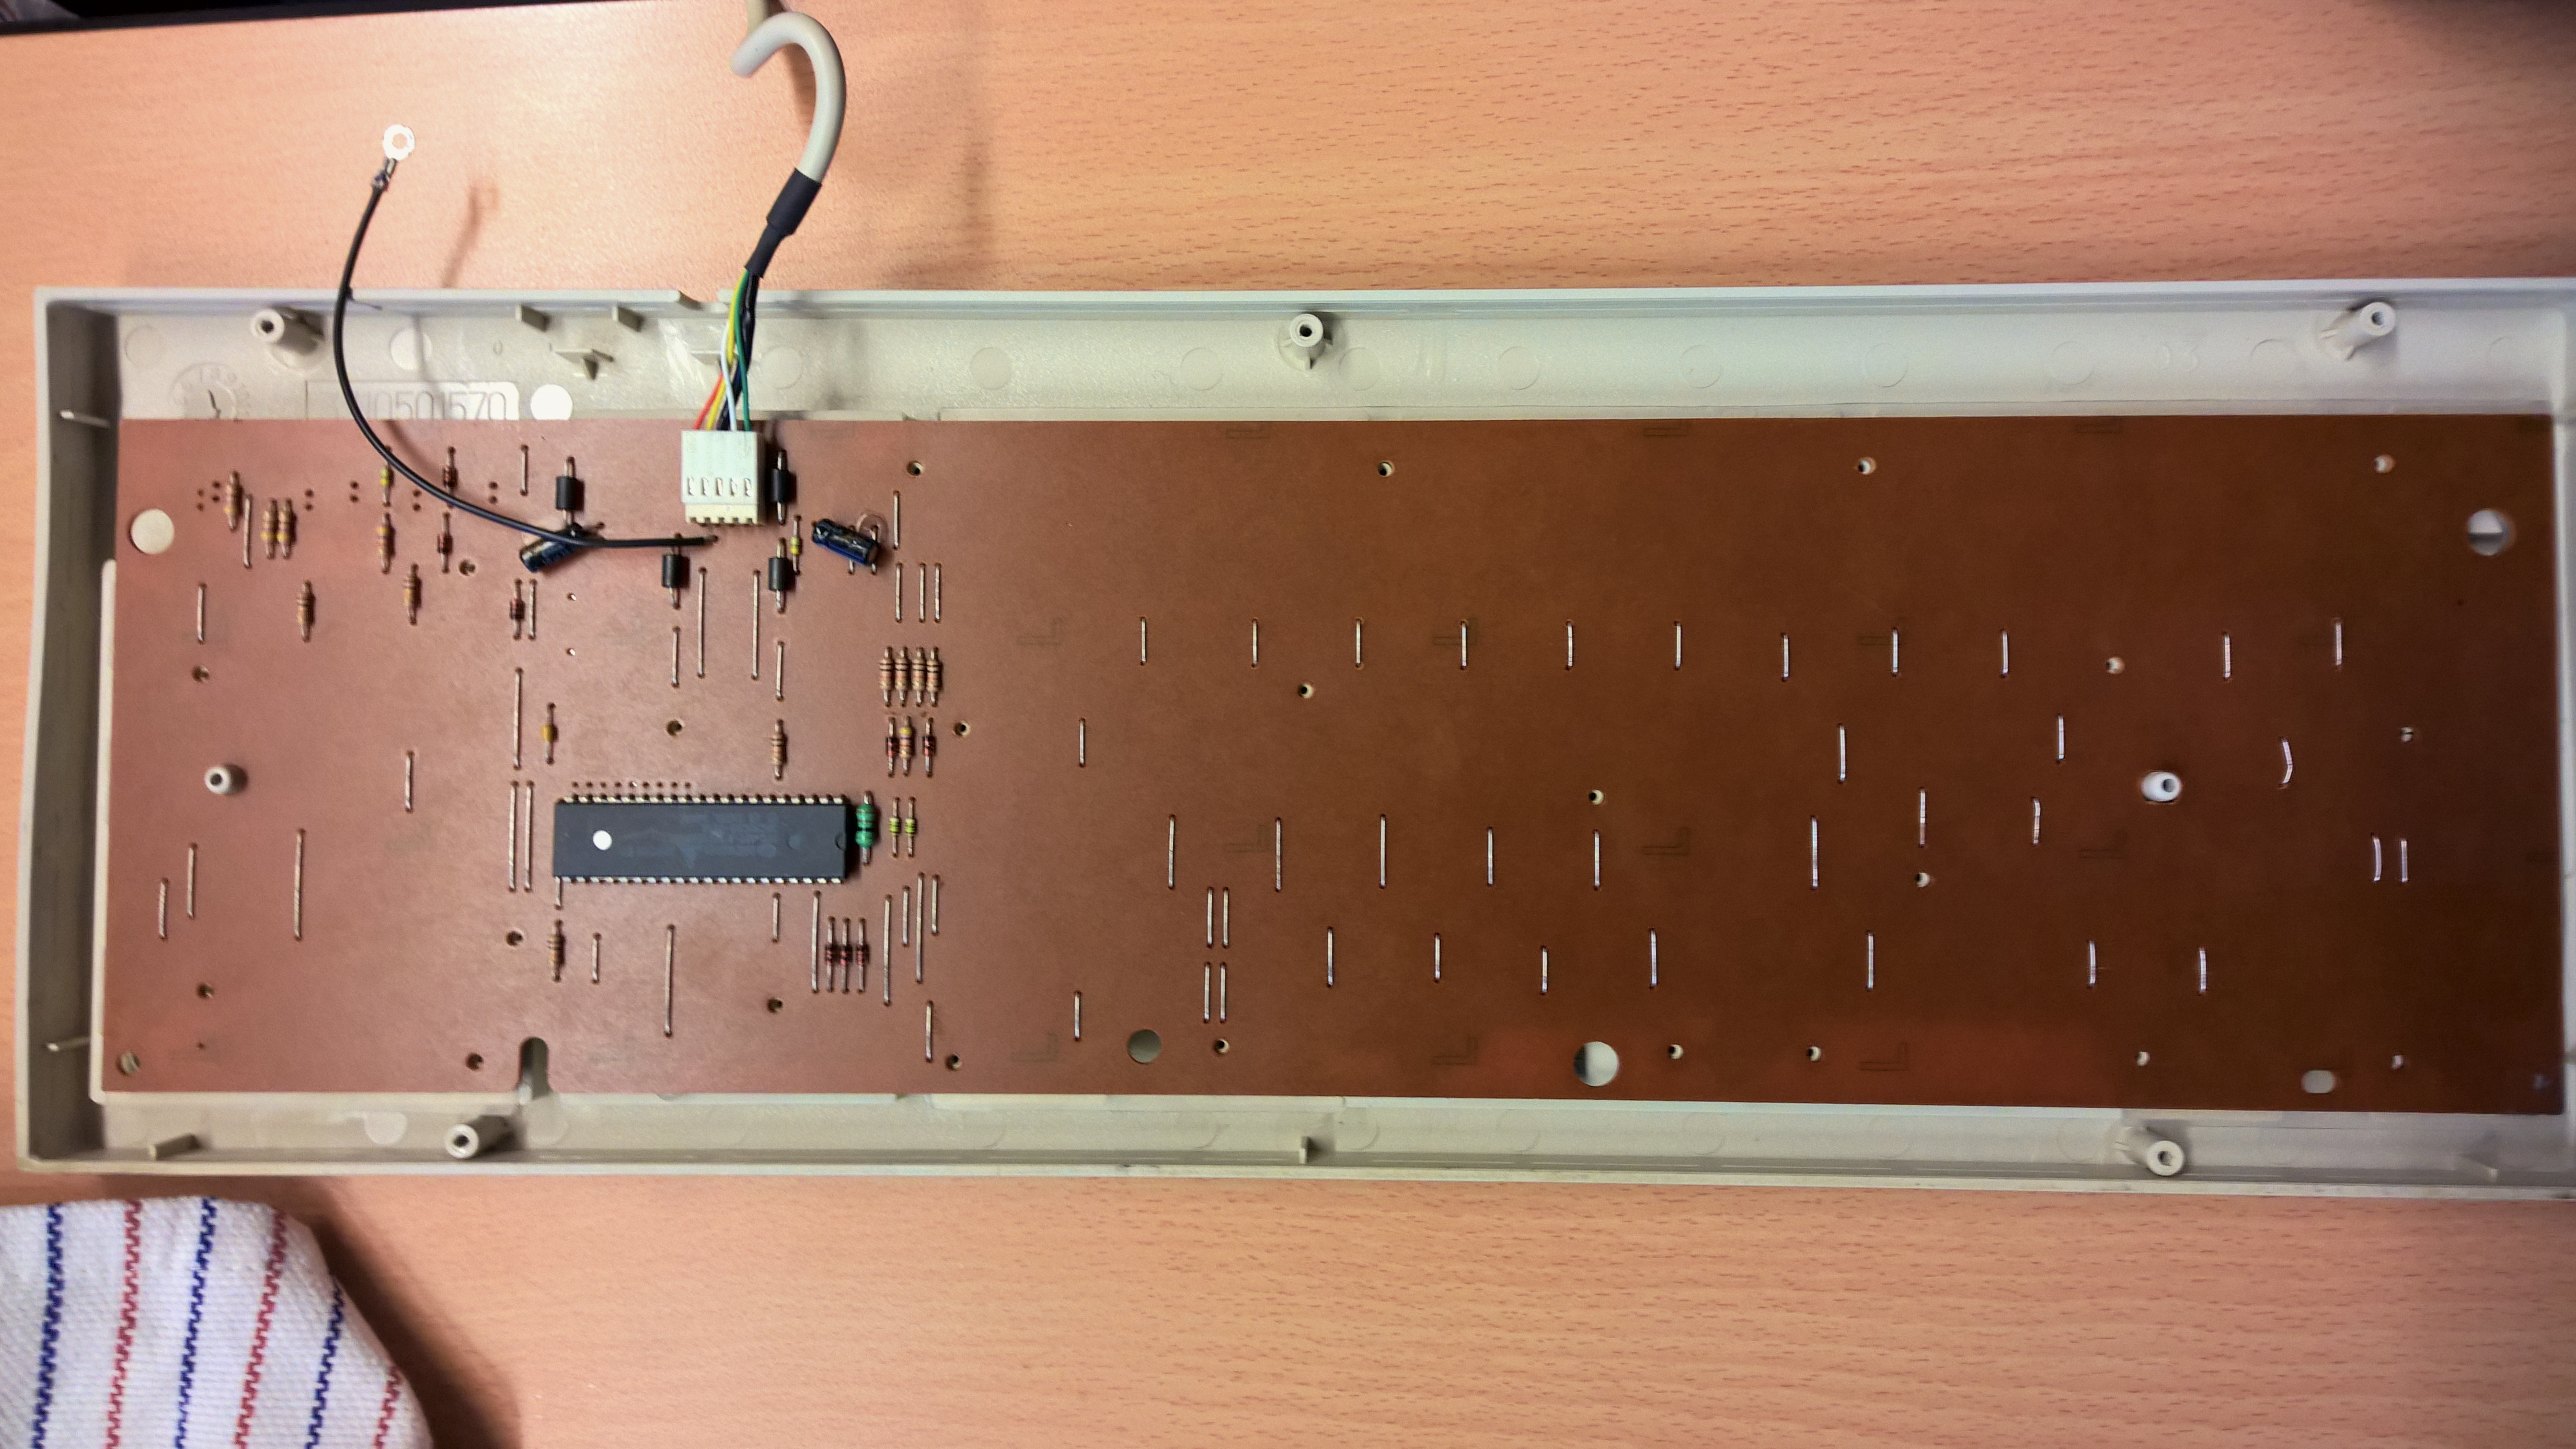
The two pictures below sum up the process nicely, basically you unscrew the mounting screws located at the bottom of the keyboard and then detach the metal base, after which you get unrestricted access all the innards of the keyboard.

Cleaning
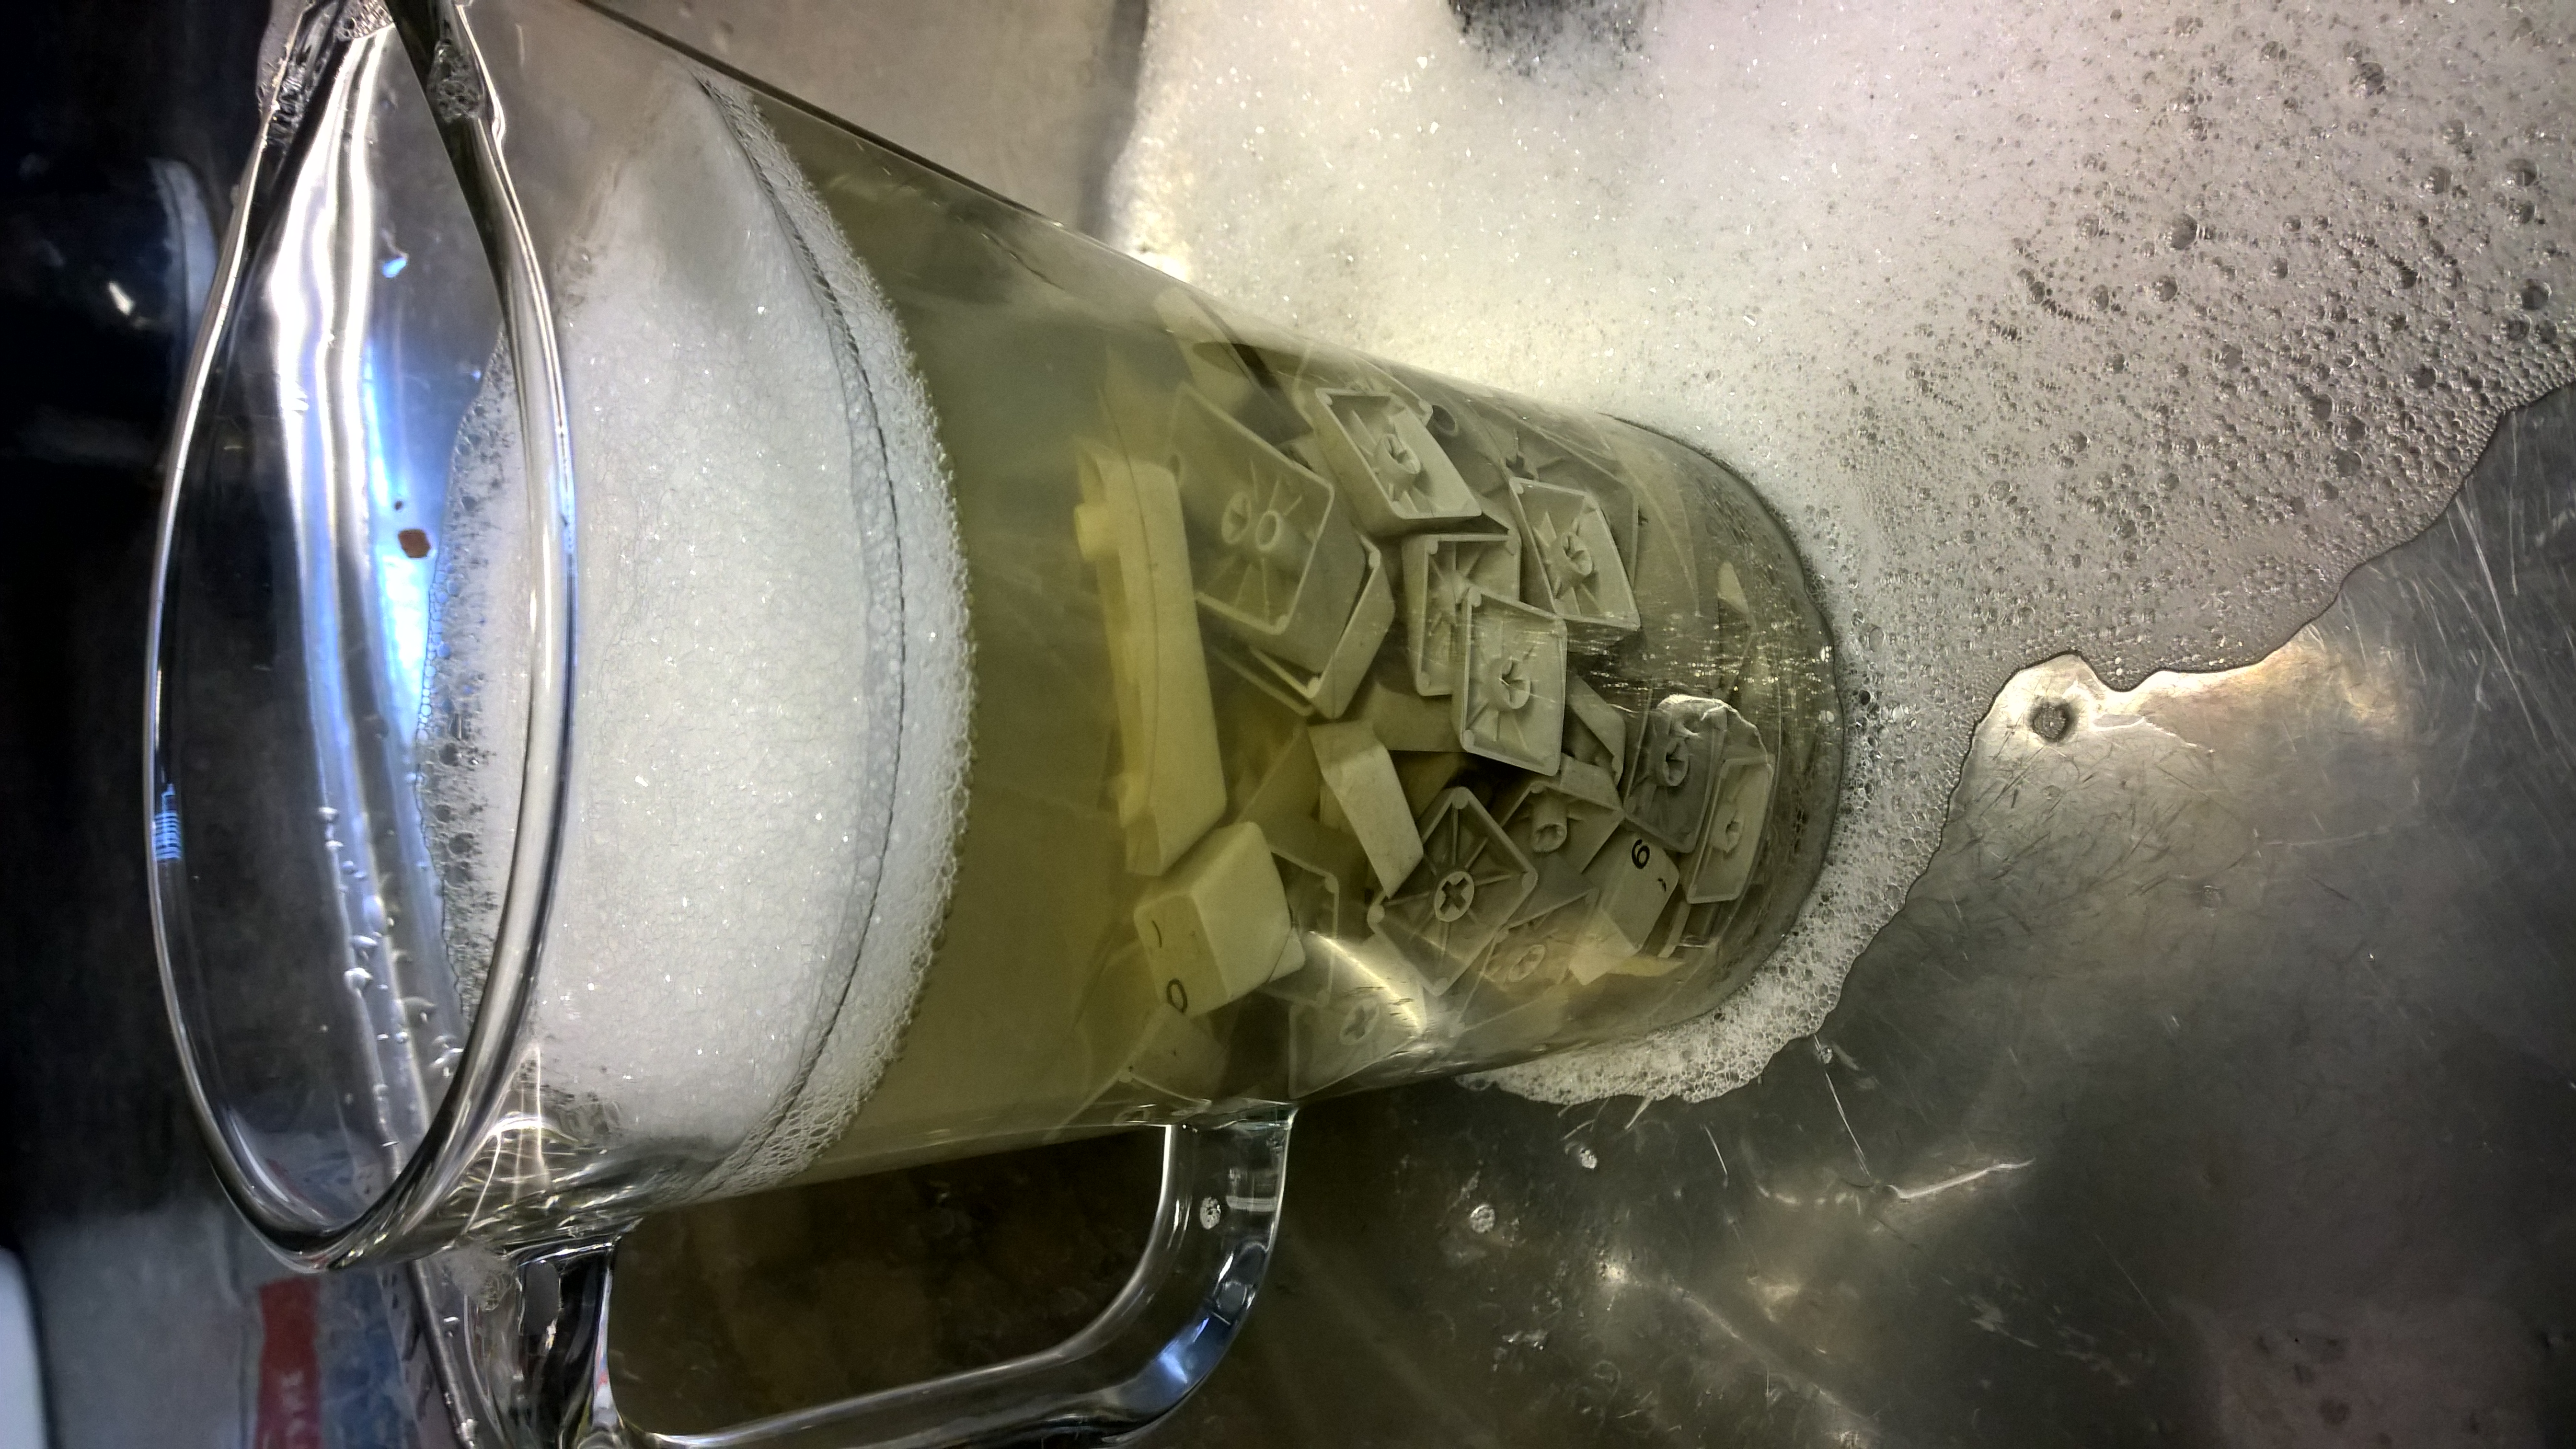
Normally I would just use denture cleaning tablets on keyboards as severely yellowed as this one, but seeing as how my fallback plan was to just take the keycaps and run I did not want to risk damaging the keycaps, so instead I opted for multiple soaking sessions in lukewarm water with a tiny amount added.
I did three soaking sessions in total and ever so gently rubbed off all the nasty. The emphasis lies on gently here, because manhandling the keycaps would have been a surefire way to destroy the lettering on the keycaps.
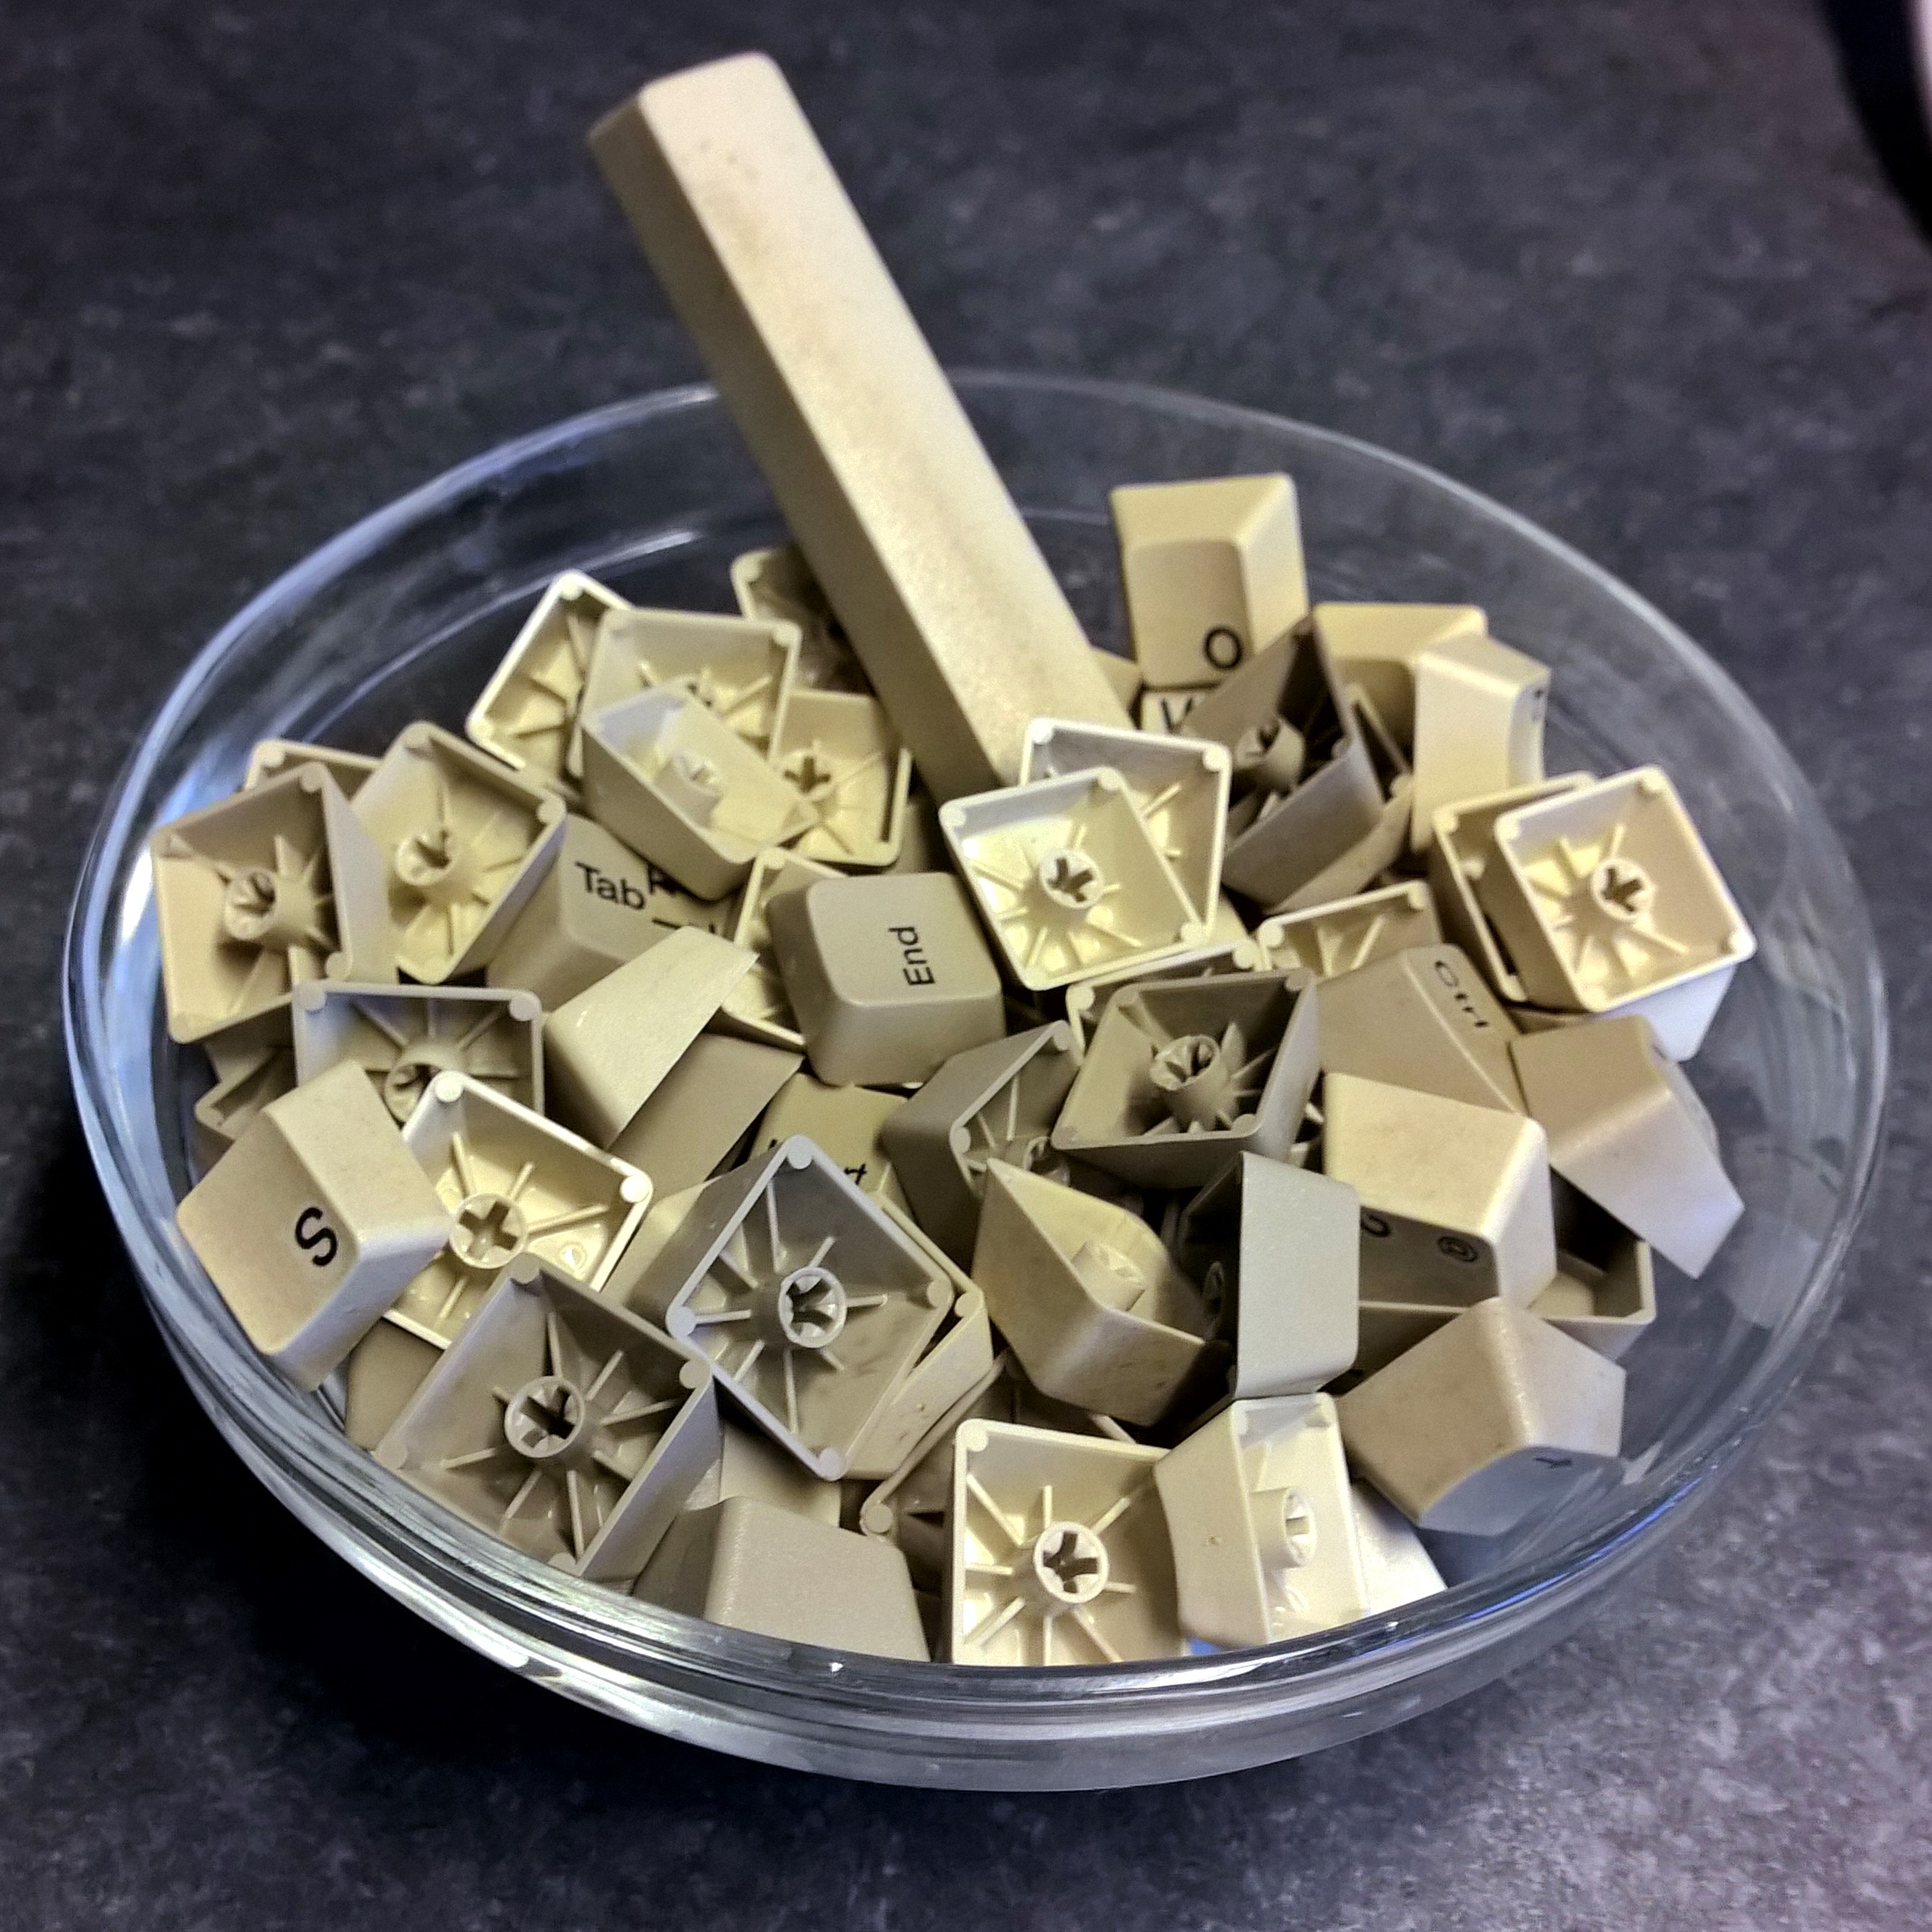
I'm honestly surprised by how good these looked after cleaning, considering the amount of gunk and oil that was on them. Just goes to show you that there is no substitute for a little elbow grease 😜
After cleaning the keycaps I put the metal bottom and the plastic top in the dishwasher and let it run a short cycle with just water. I chose the lowest temperature setting so the plastic would not warp due to the heat (dishwashers can get very hot!).
After the bottom and top half of the keyboard finished their little dishwasher adventure I let everything dry and the proceeded to put the keyboard together again, which was the same process as the disassembly process, only, you know... reversed.
Results and typing demonstration
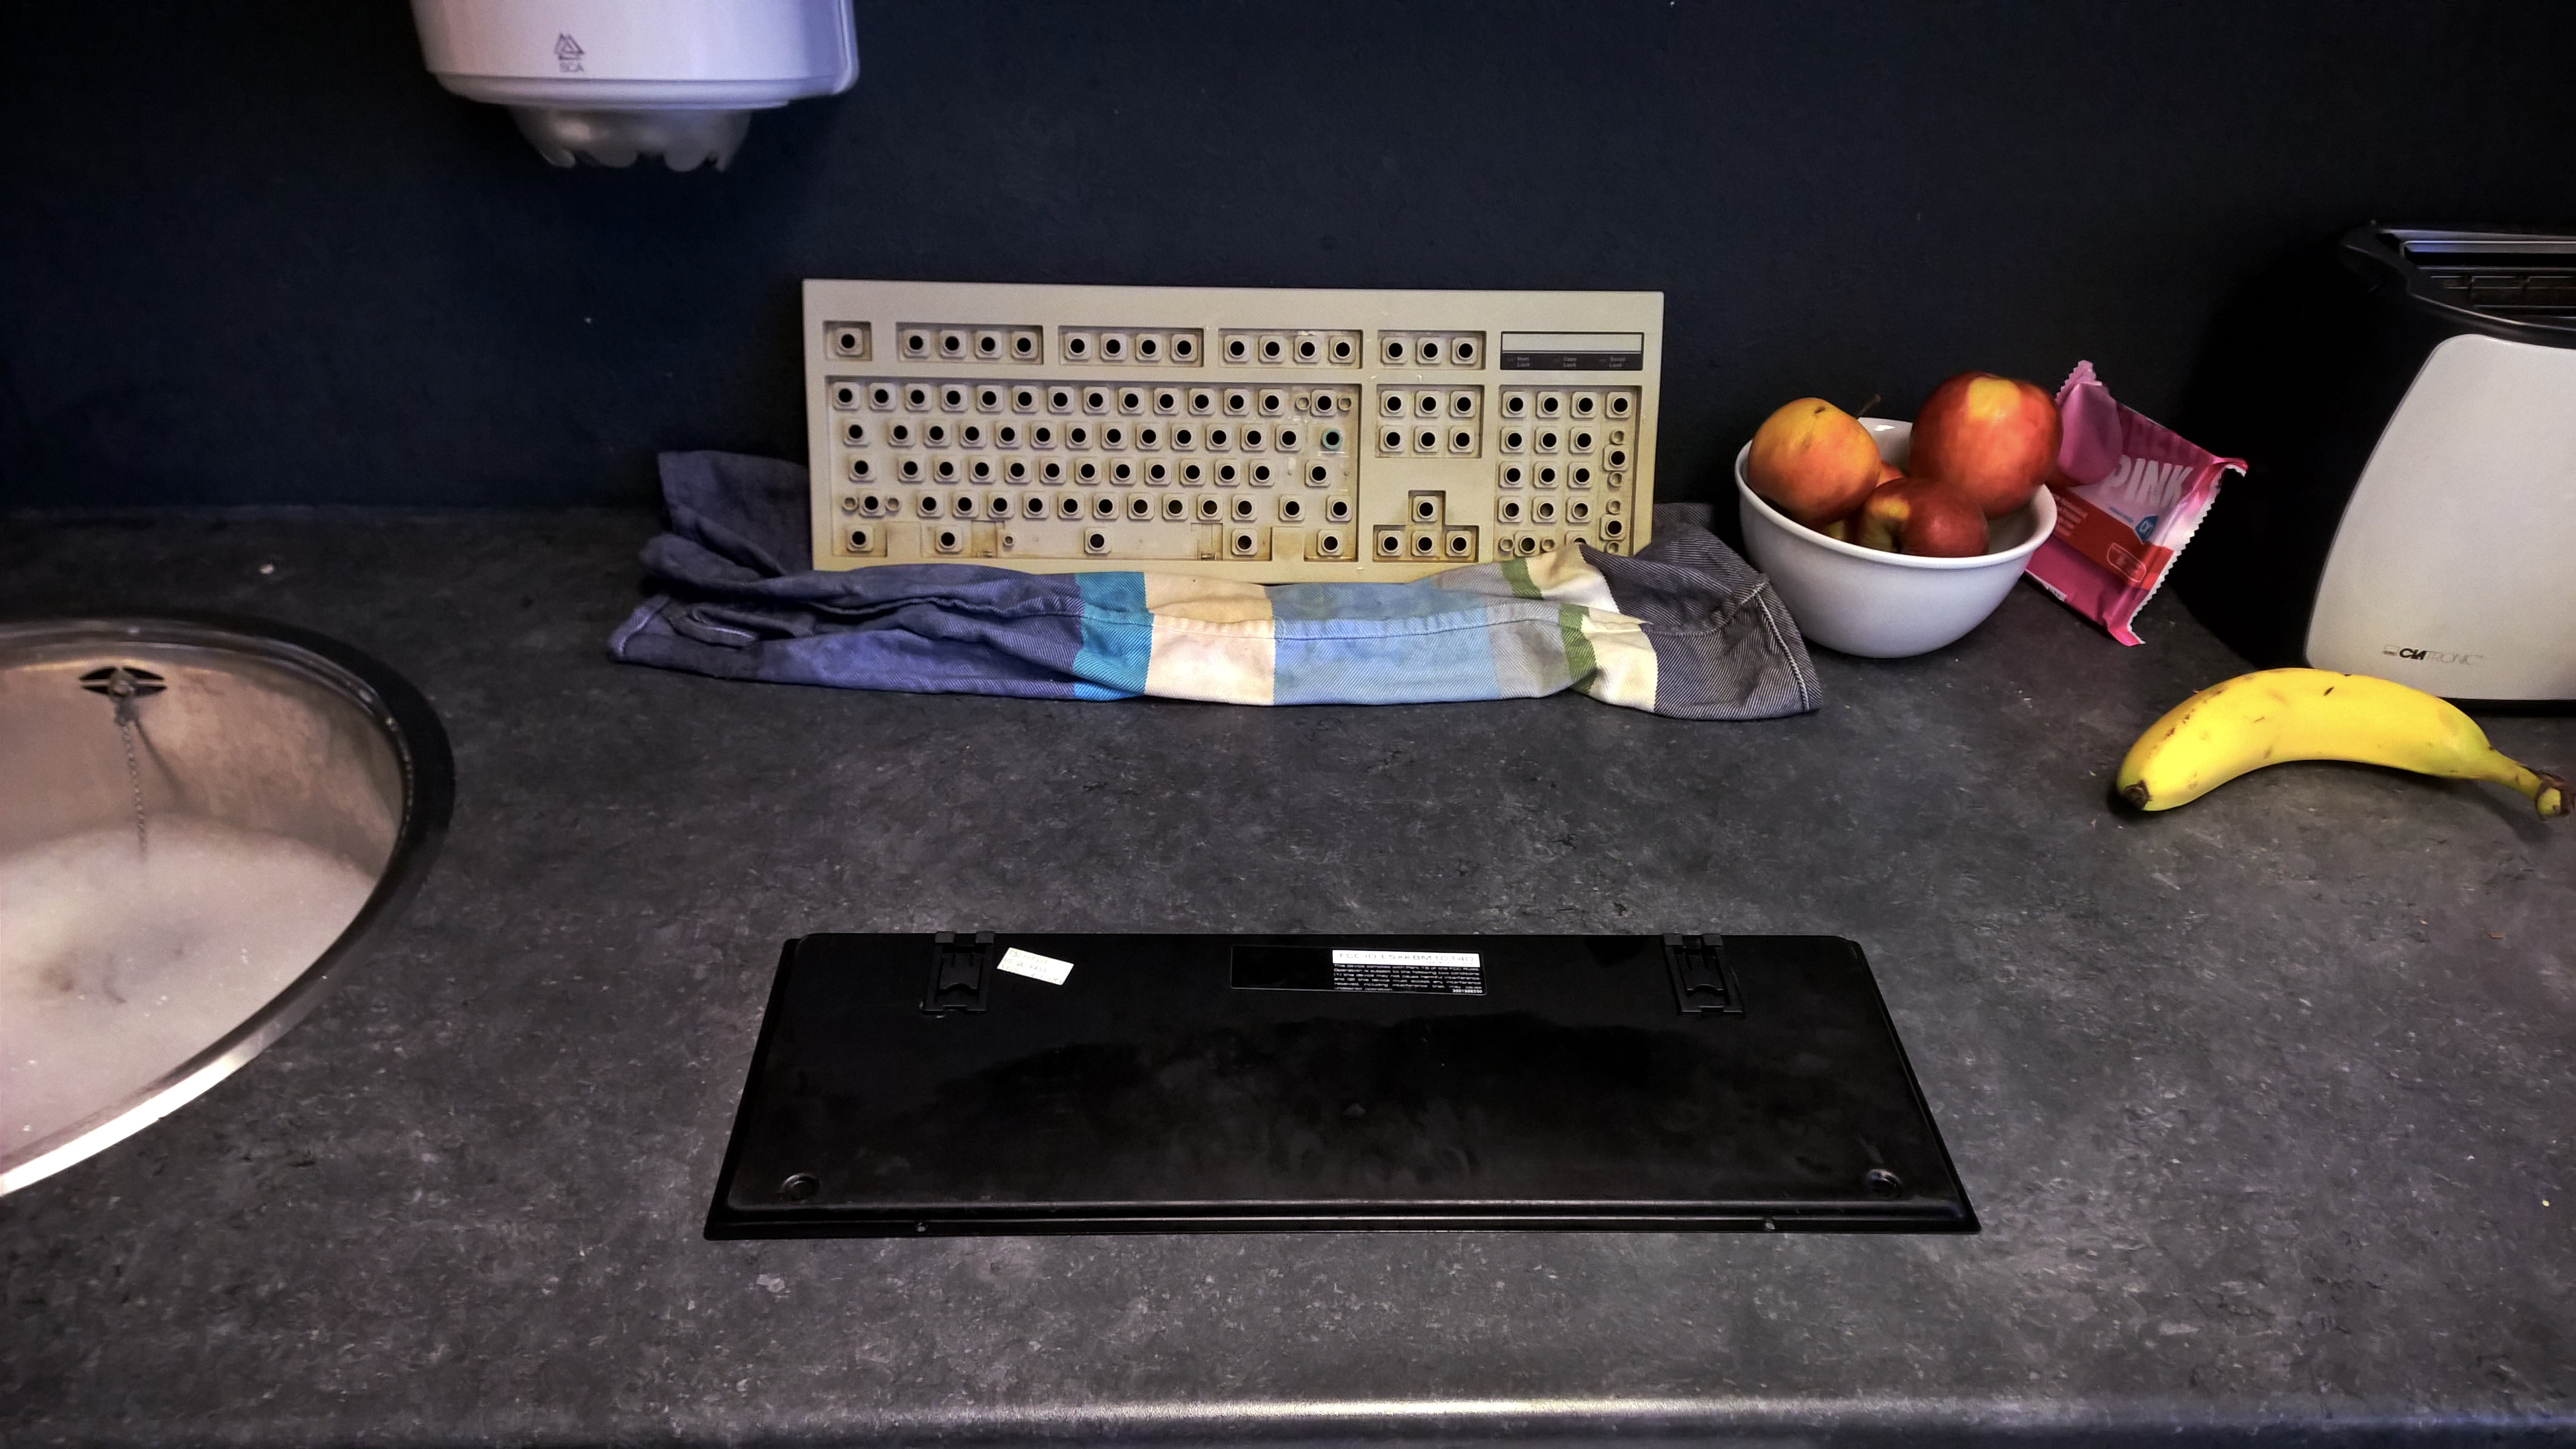
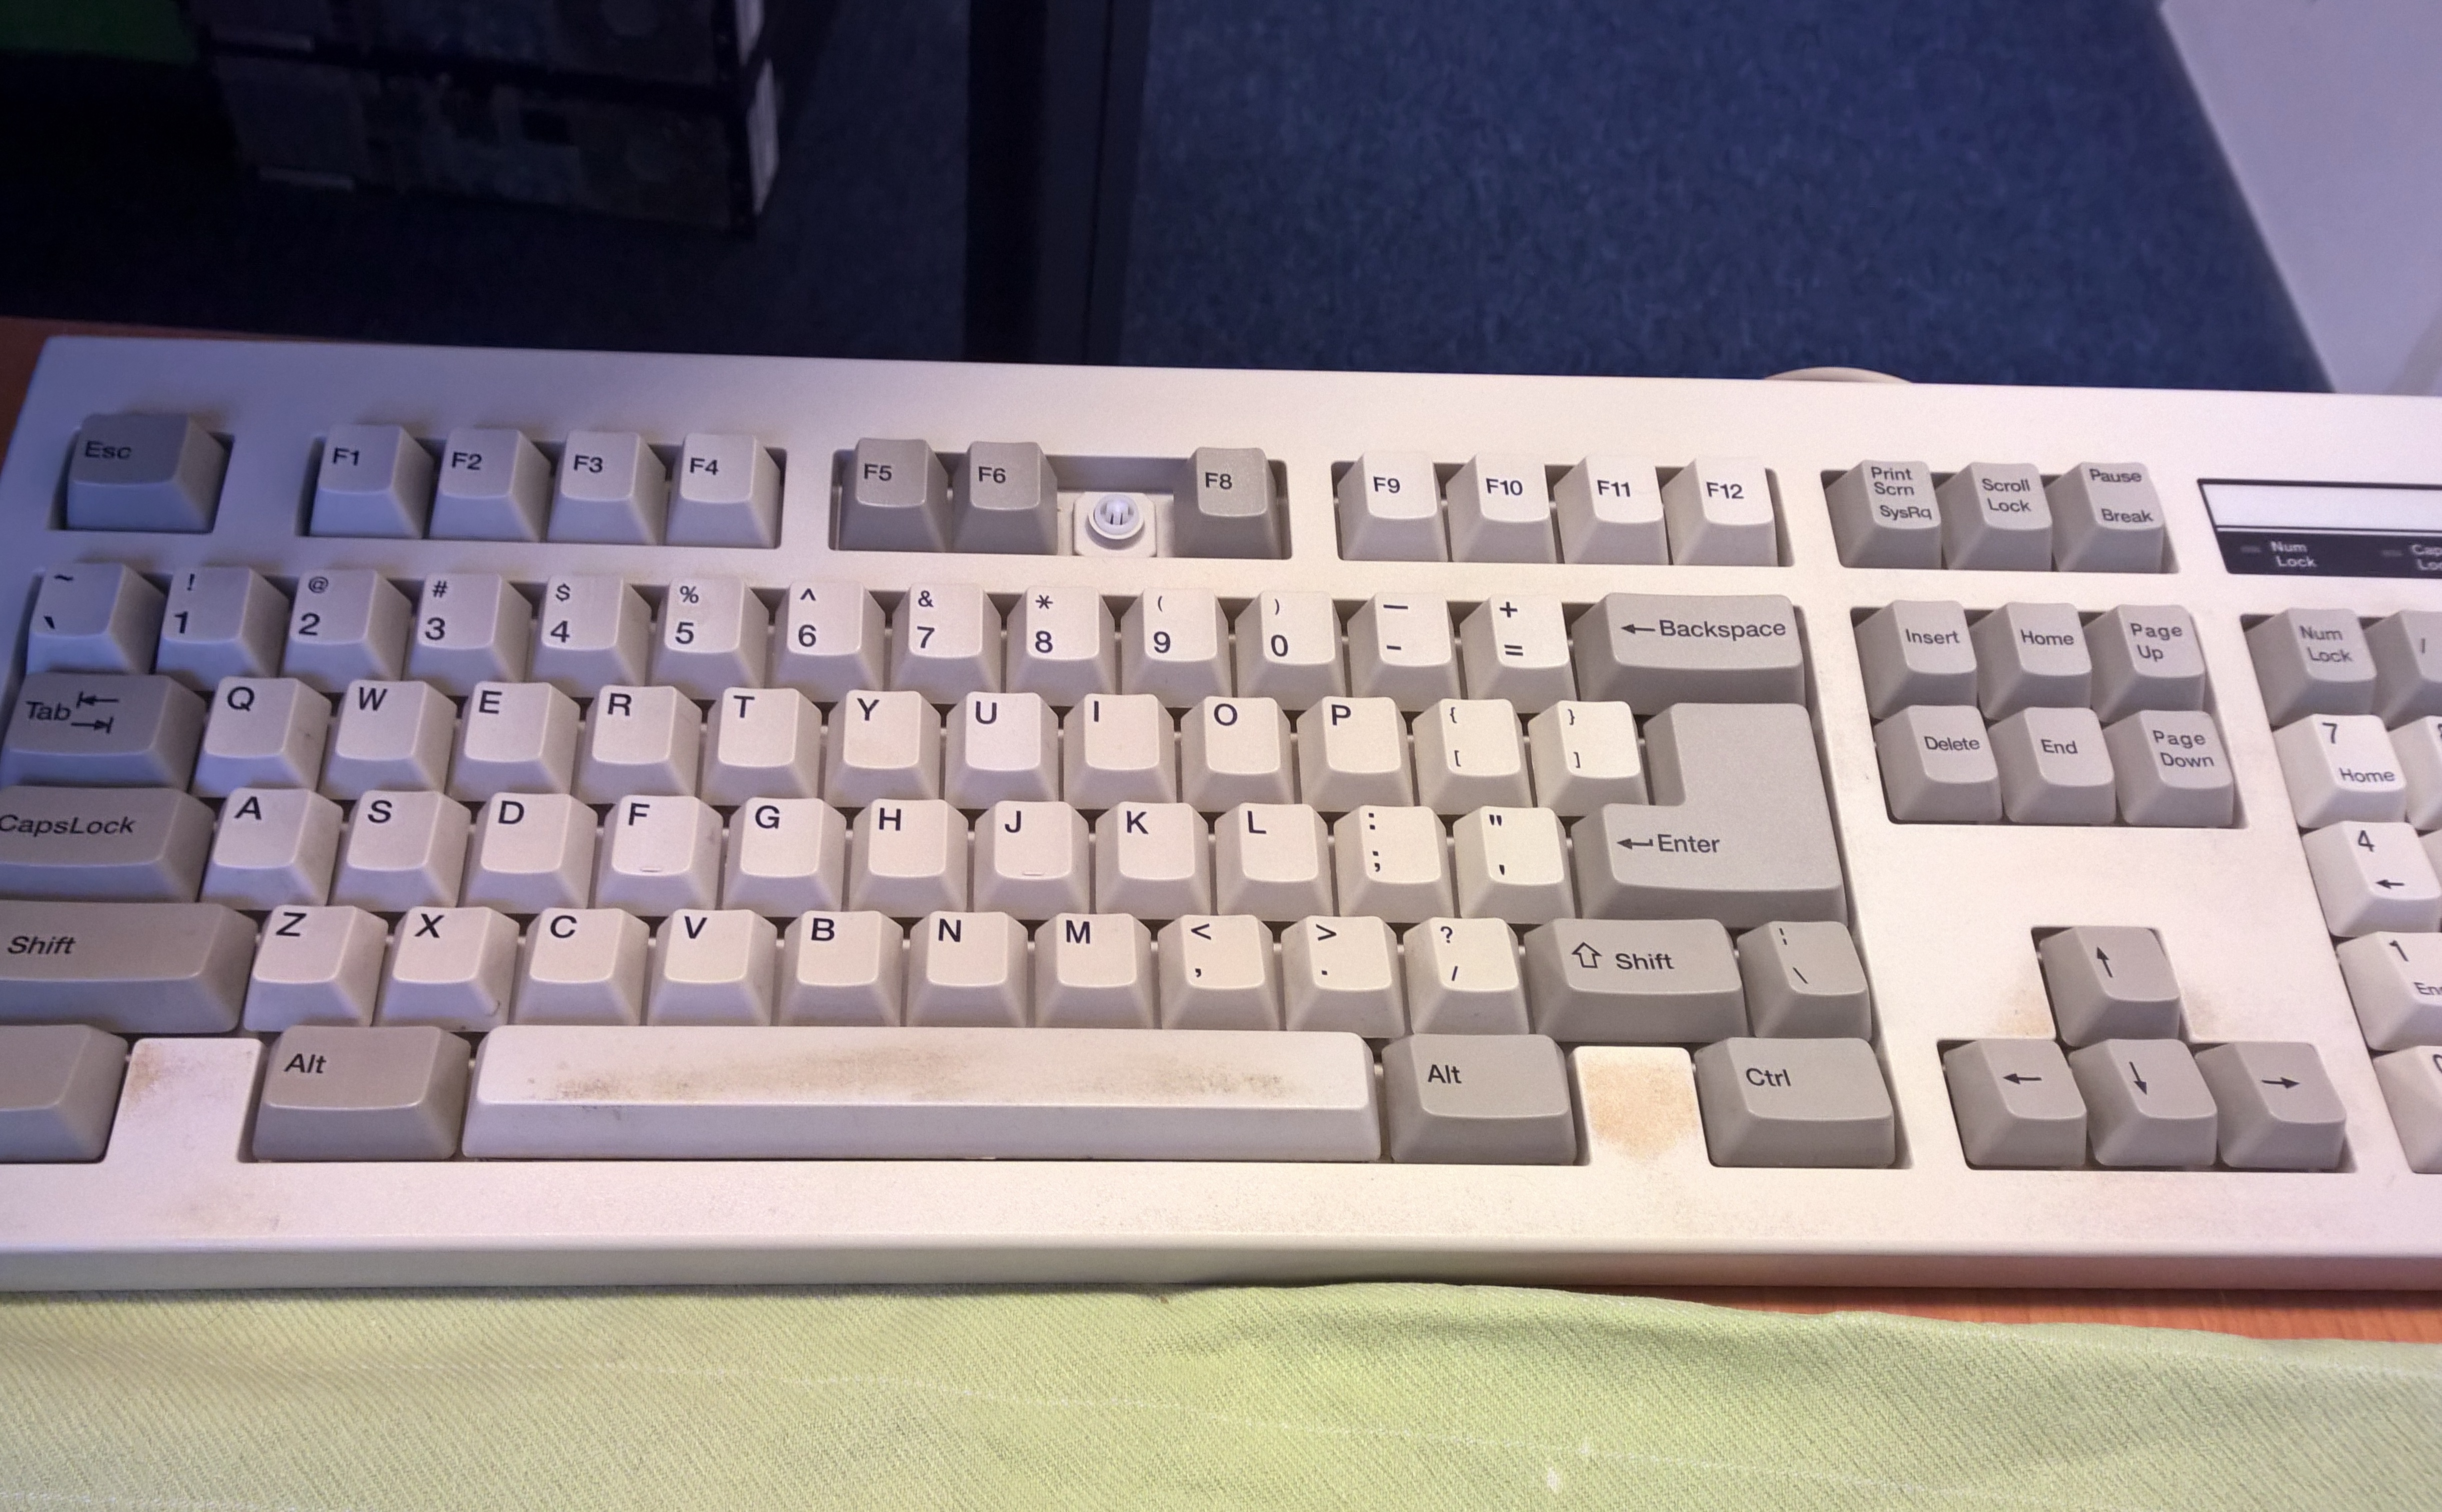
Whilst I wasn't able to completely soak off all the muck (who knows how long the keyboard has been submerged in all that oil and grime!), I was definitely able to get rid of the smell and get the keyboard looking decent. I certainly wouldn't mind typing on it! Unfortunately I wasn't able to get a fully working keyboard out of it. As it turned out, the oil did a number on the circuitry which resulted in several dead keys which is a total bummer! They keyboard felt great to type on, as you can hopefully tell from the video below!
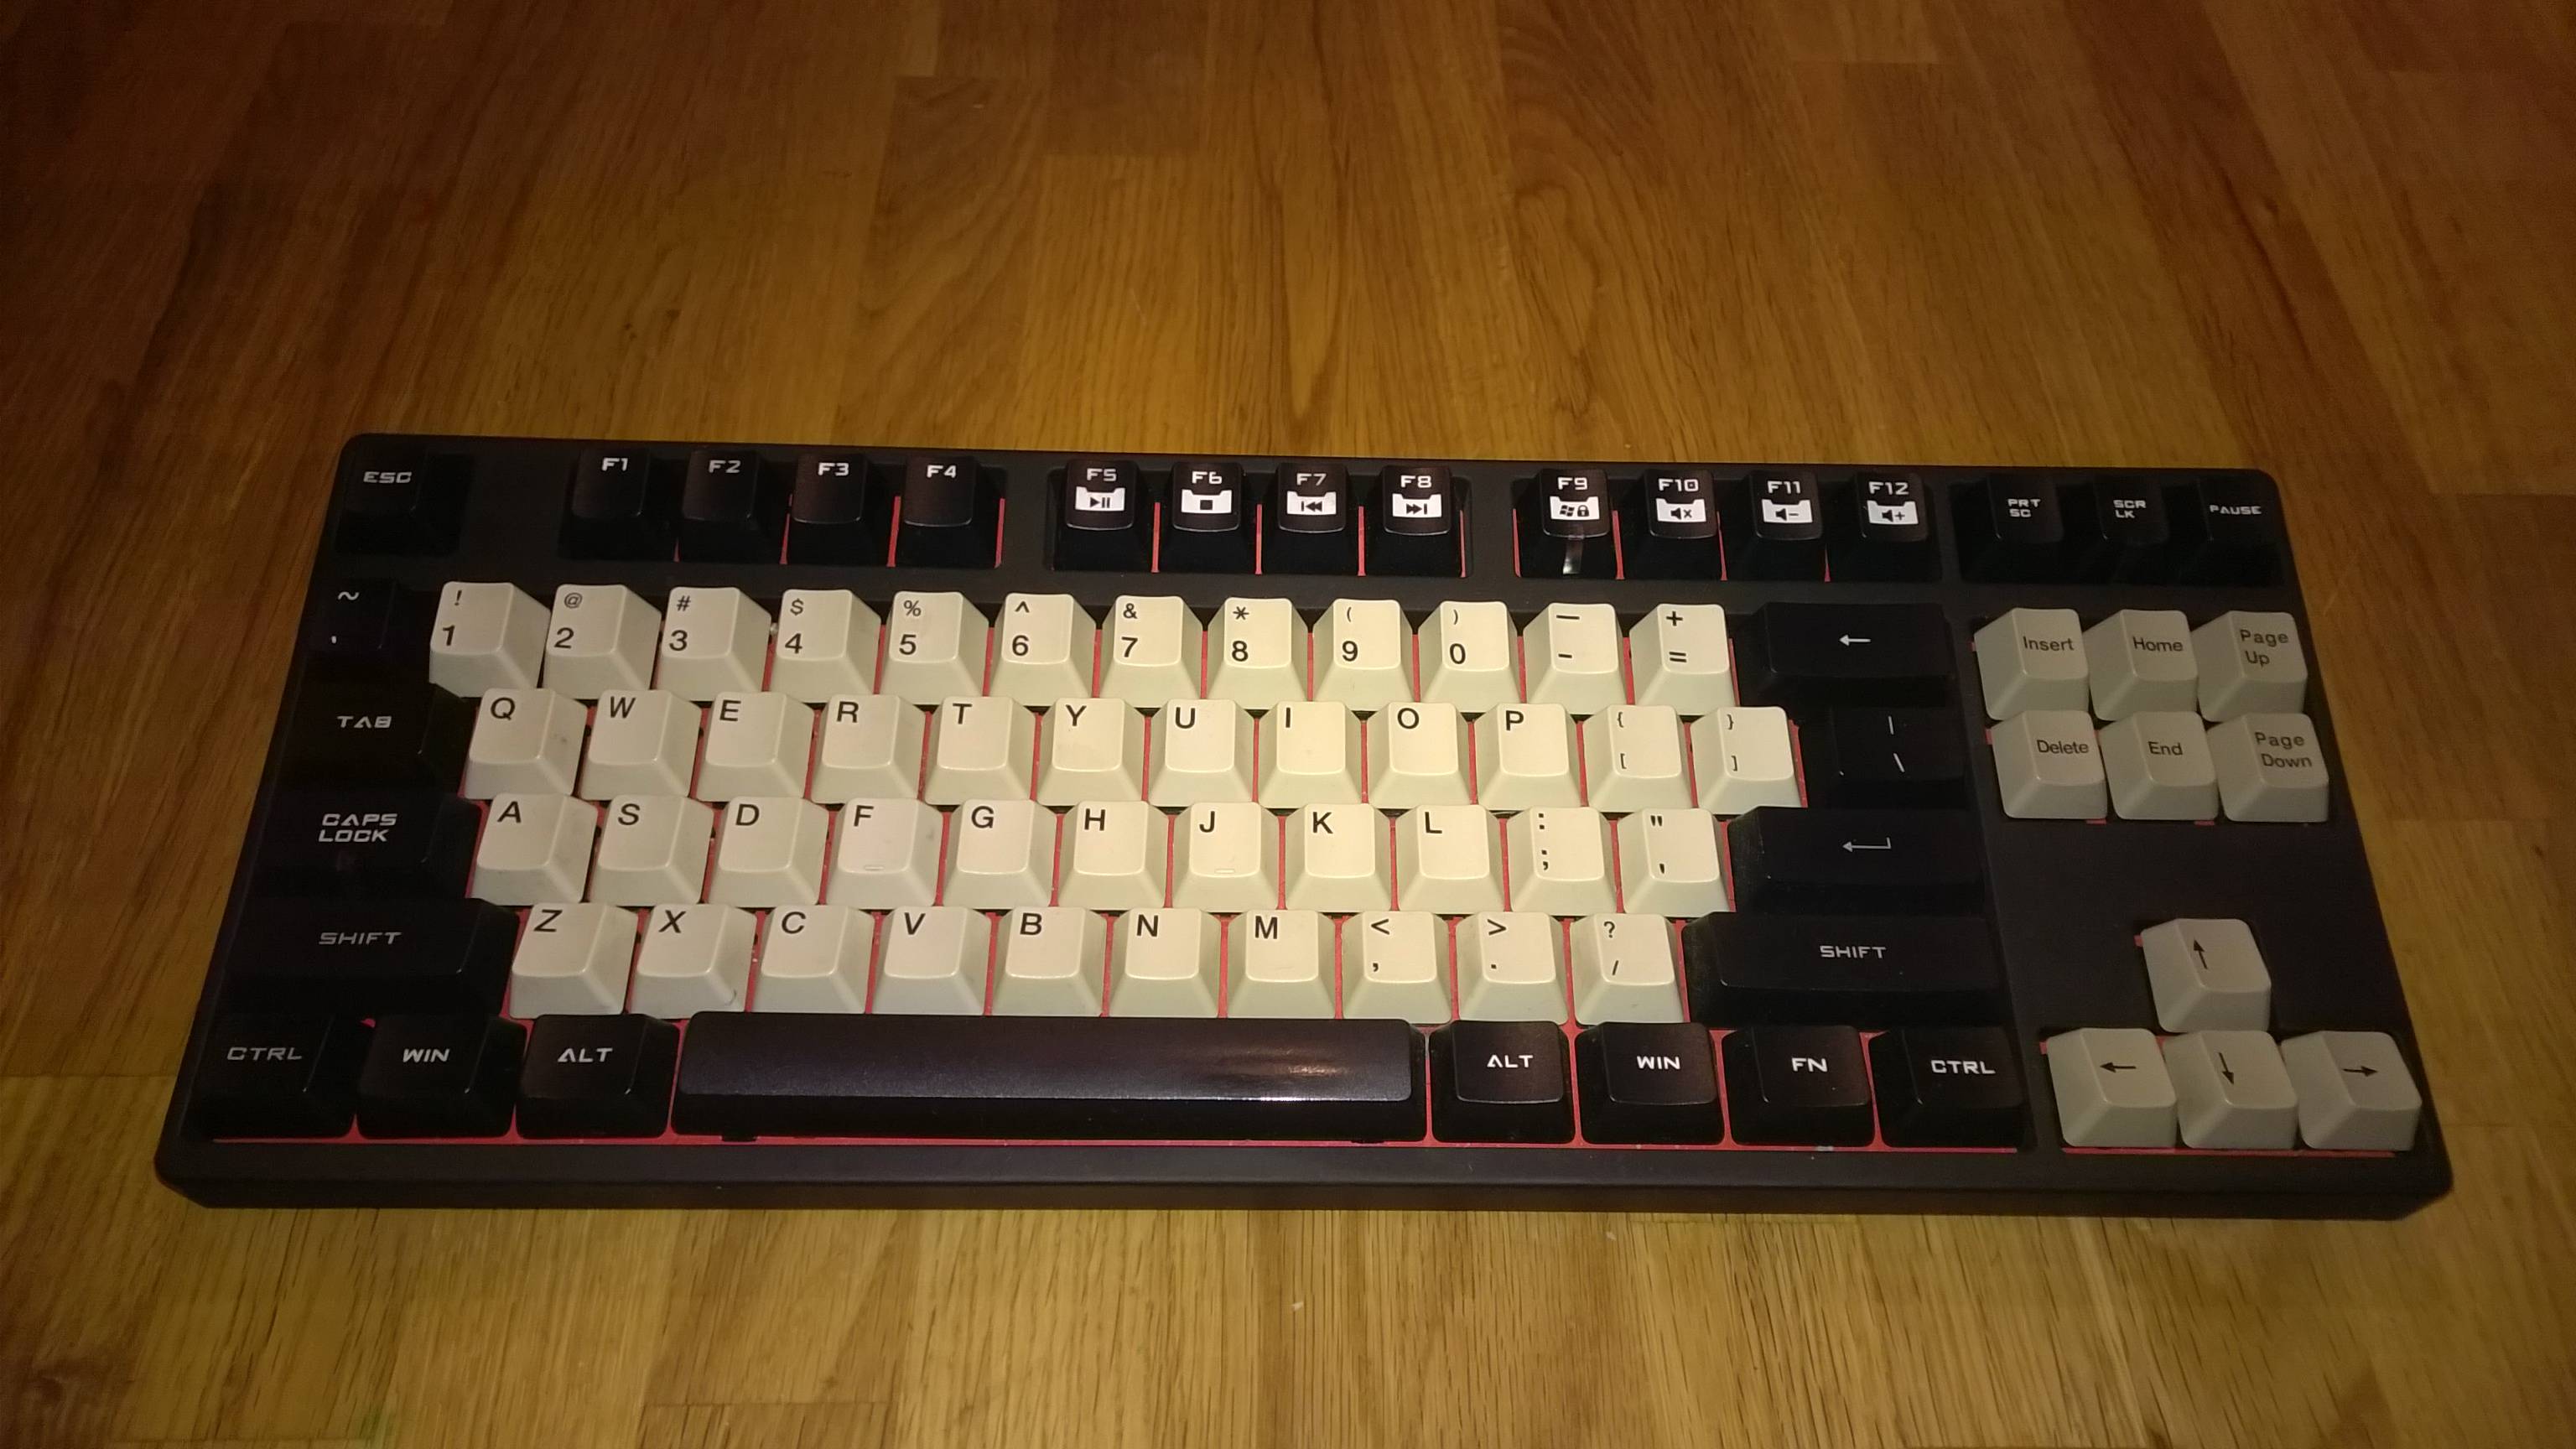
Not all was lost though, In the end I harvested the keycaps to give my CM Storm a nice makeover, which you can see in the picture below. I'm blown away by how good the keys look on the all black chassis!
Gallery
Here are some more pictures of the entire restoration process. Enjoy ✨